Updating a 1960s ranch by remodeling a kitchen and bathroom
This was the third project we worked on for the owner of a 1960s brick ranch. She wanted to knock down the walls between living areas to create a more functional and beautiful layout.
Kitchen Remodeling / Living Area Remodeling
- Goals and Challenges
-
- The 1960s home design was boxy and divided. This homeowner wanted to open up the walls between her kitchen and family room to improve the flow of the space and then tackle a kitchen remodel to bring the space up to date. Key challenges included:
- The home had previously been purchased by a house flipper who did work without securing building permits. As a result, we discovered many electrical issues within the walls.
- As we were removing a wall, we discovered a gas line that was not properly protected.
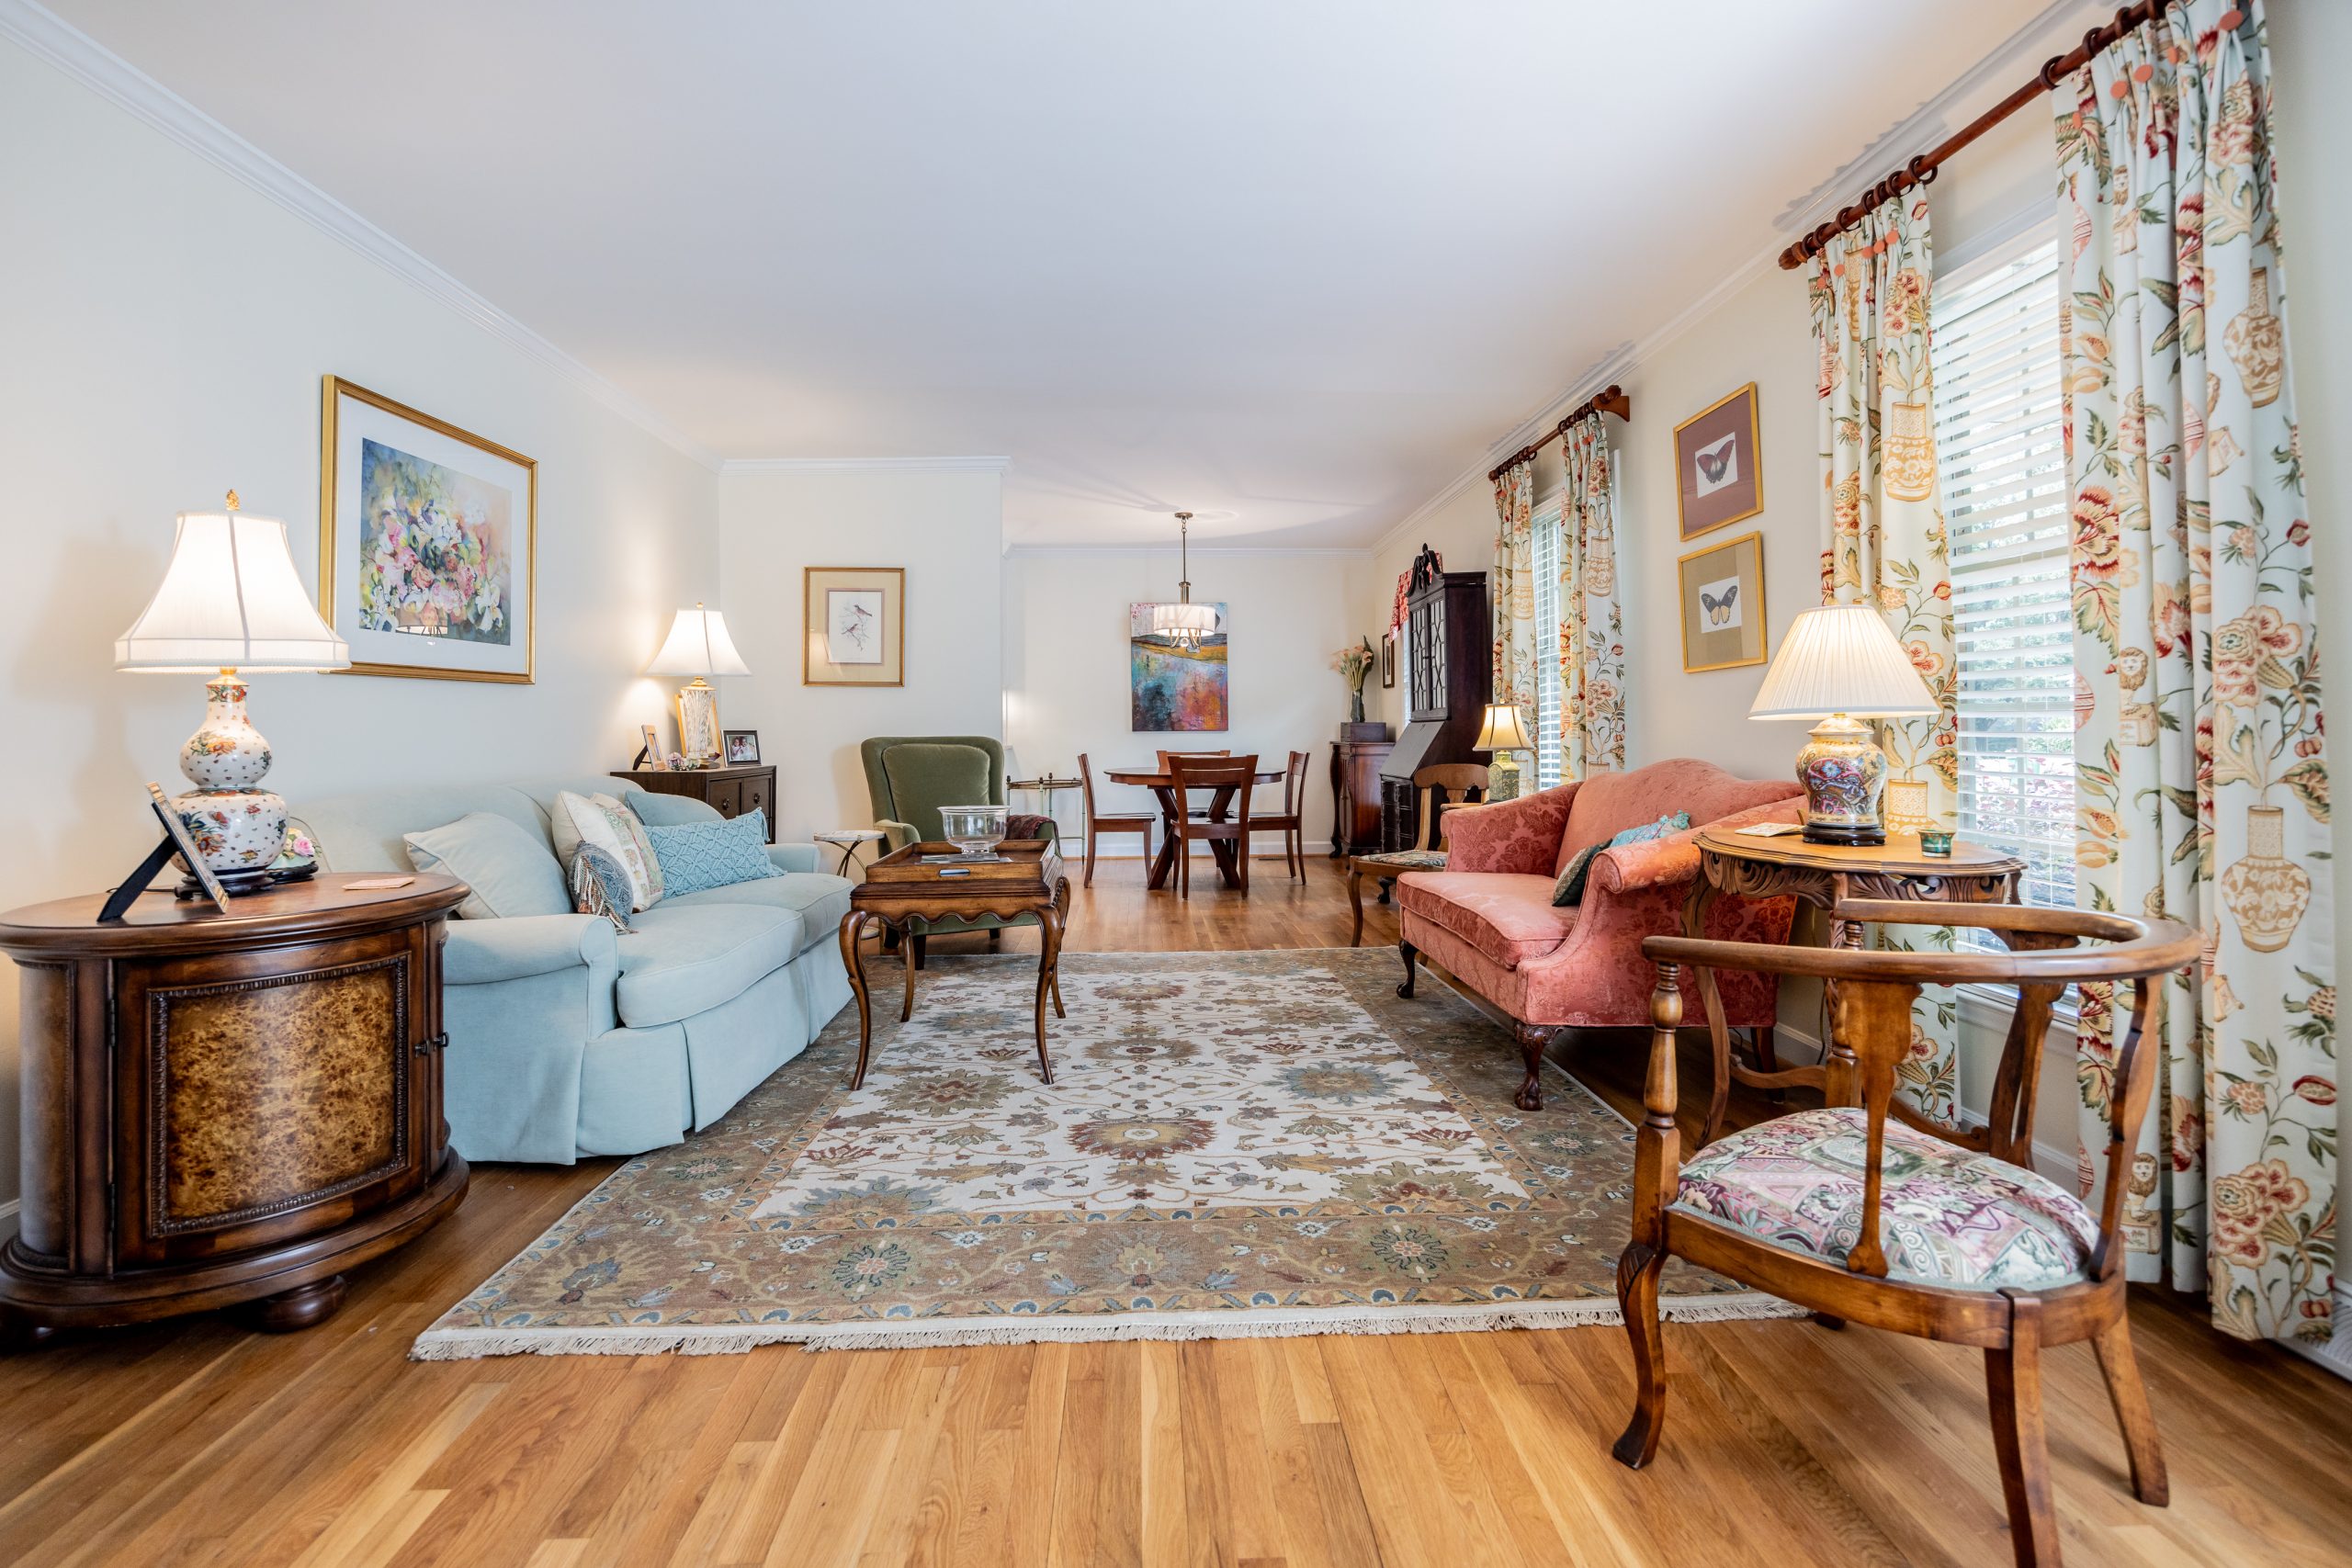
- There was an existing drop header between the dining room and the formal living room that was cutting into the useable ceiling of both spaces.
- The existing range was not properly exhausted and was located on an inside wall.
- An unused breakfast nook and built-in bench were taking up precious kitchen area.
- The 1960s home design was boxy and divided. This homeowner wanted to open up the walls between her kitchen and family room to improve the flow of the space and then tackle a kitchen remodel to bring the space up to date. Key challenges included:
- Solutions
-
- Structural Planning: We went into this project with a structurally engineered plan. Even though it was a simple wall to remove, we wanted to ensure that everything was properly engineered behind the scenes.
- Safety Measures: Because we had both a plan and decades of hands-on experience, we used caution when cutting through the wall that housed the gas line. That caution paid off when we discovered the line was abutting the drywall with no additional protection. We safely demolished the wall without damaging the line.
- Electrical Upgrades: Redid the faulty electrical work to bring it up to code.
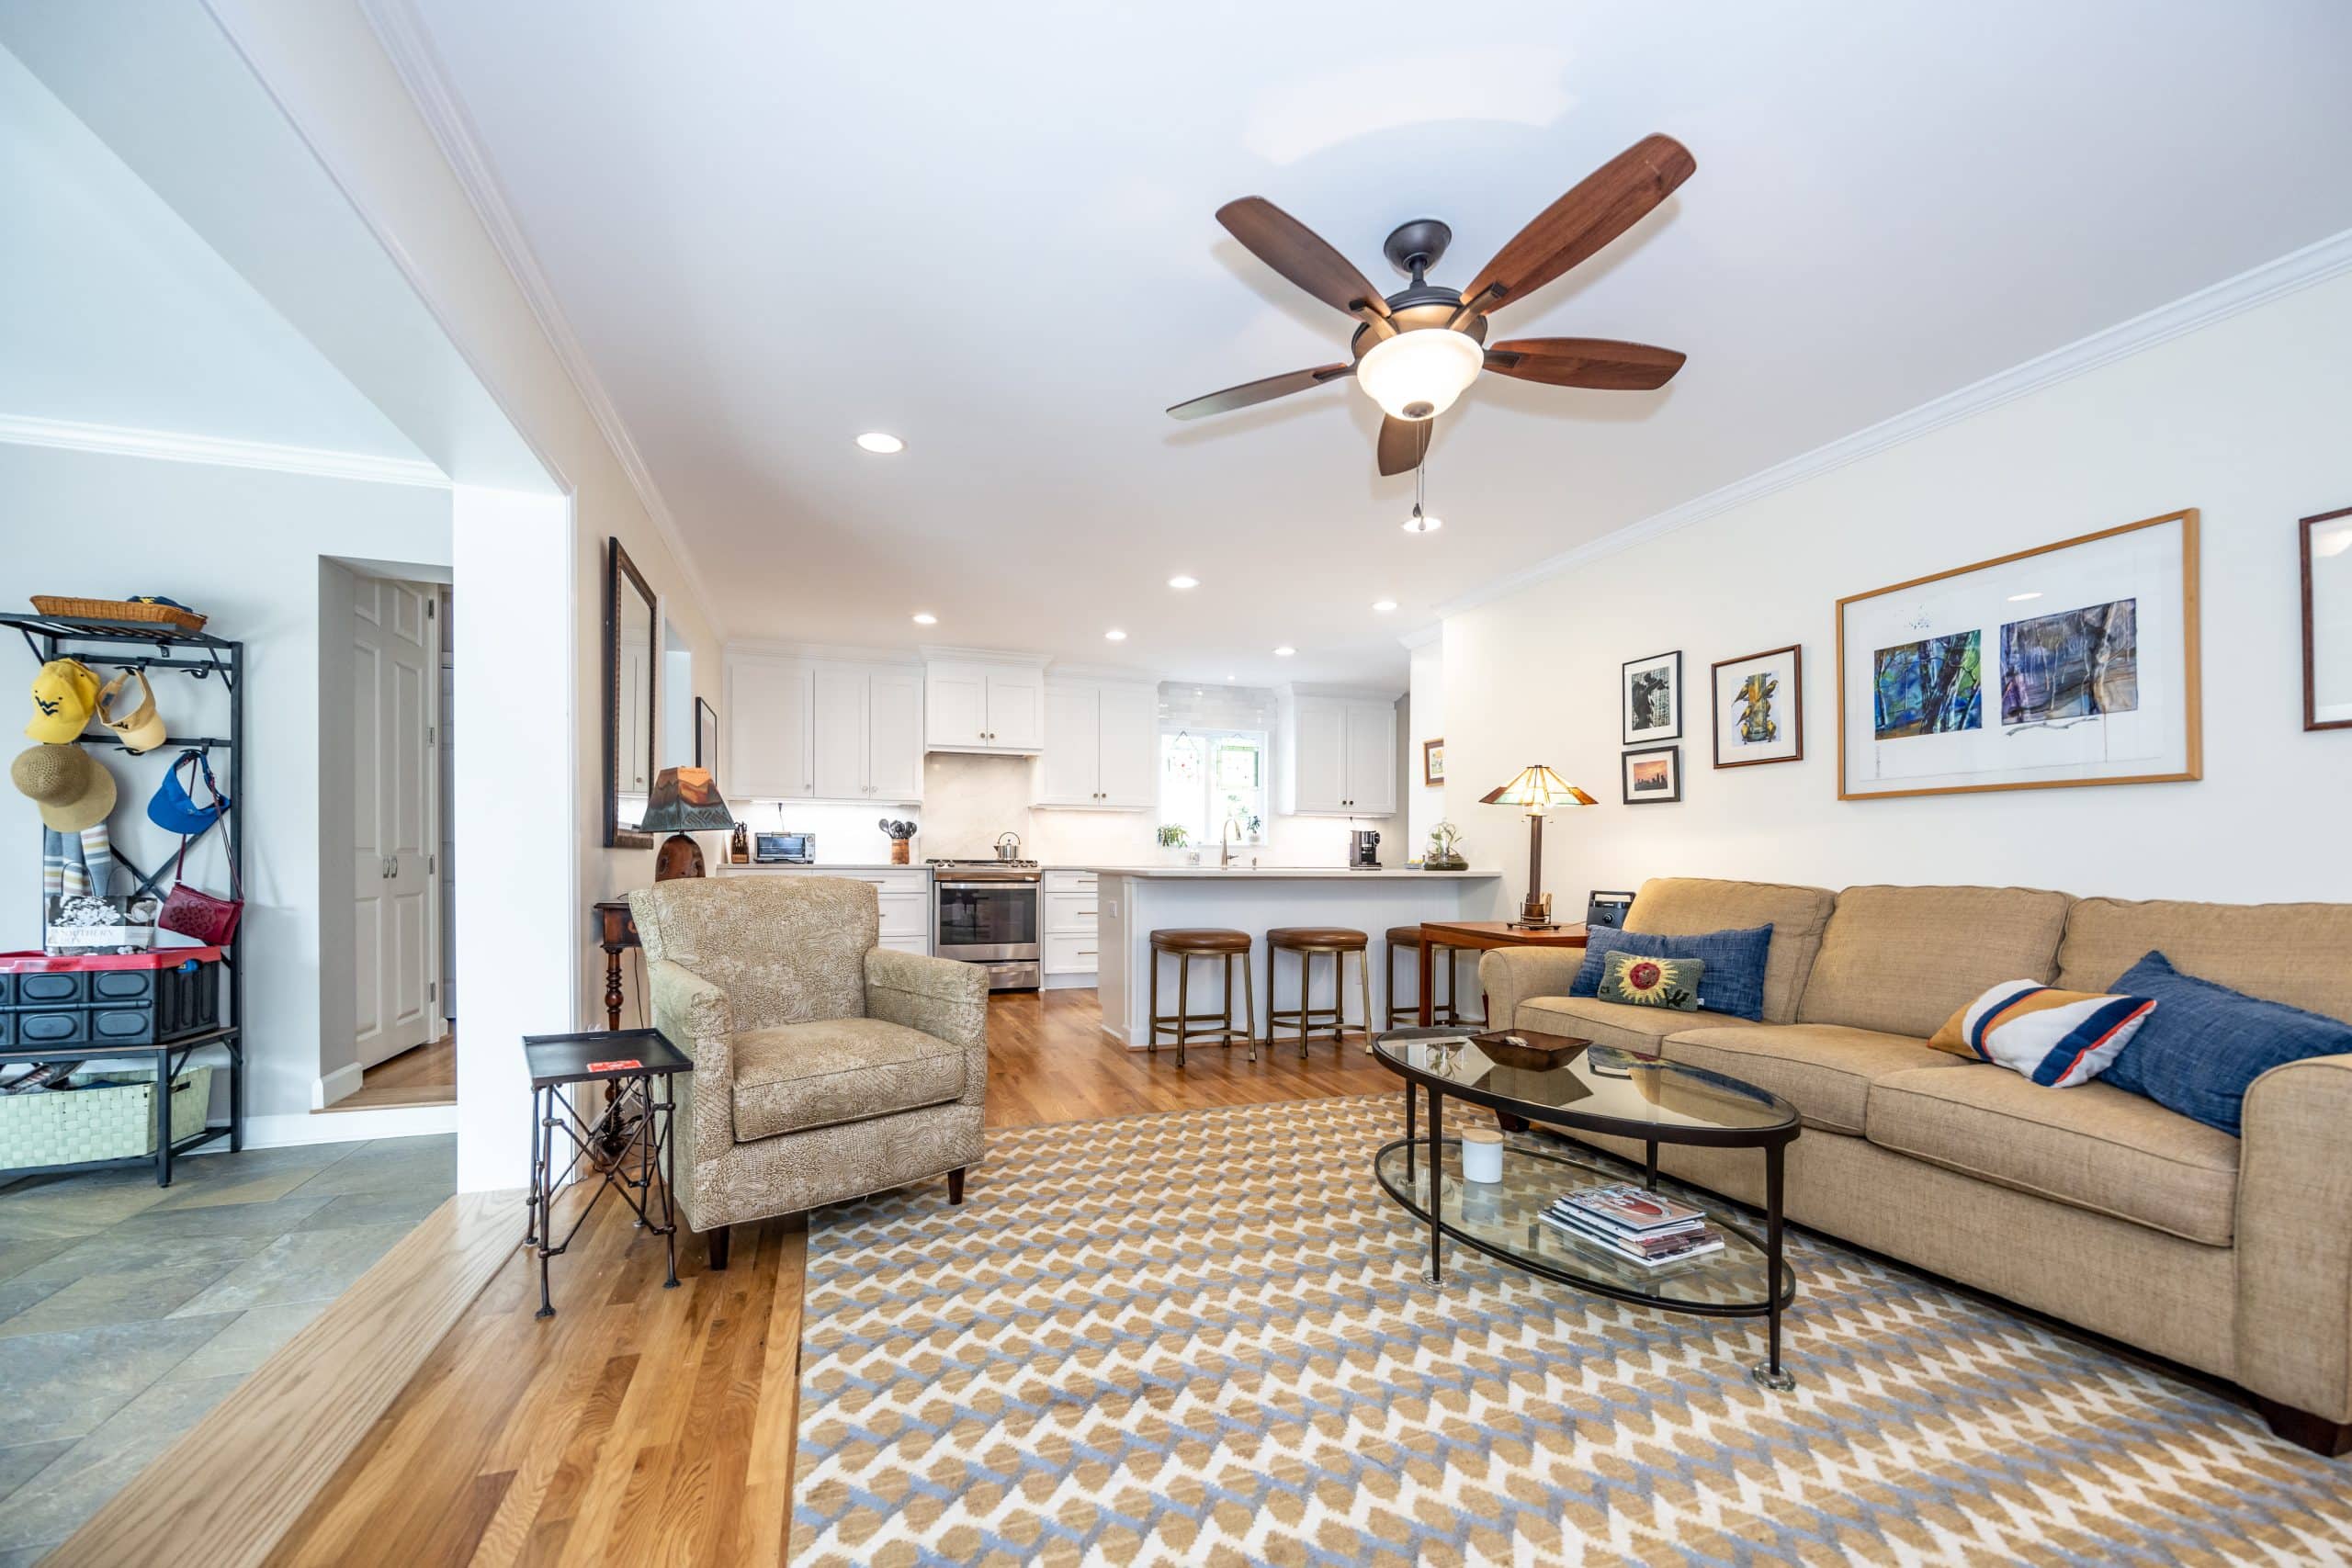
- Space Optimization: Opened up the drop header between the dining room and the formal living room and removed the existing walls that were dividing the space.
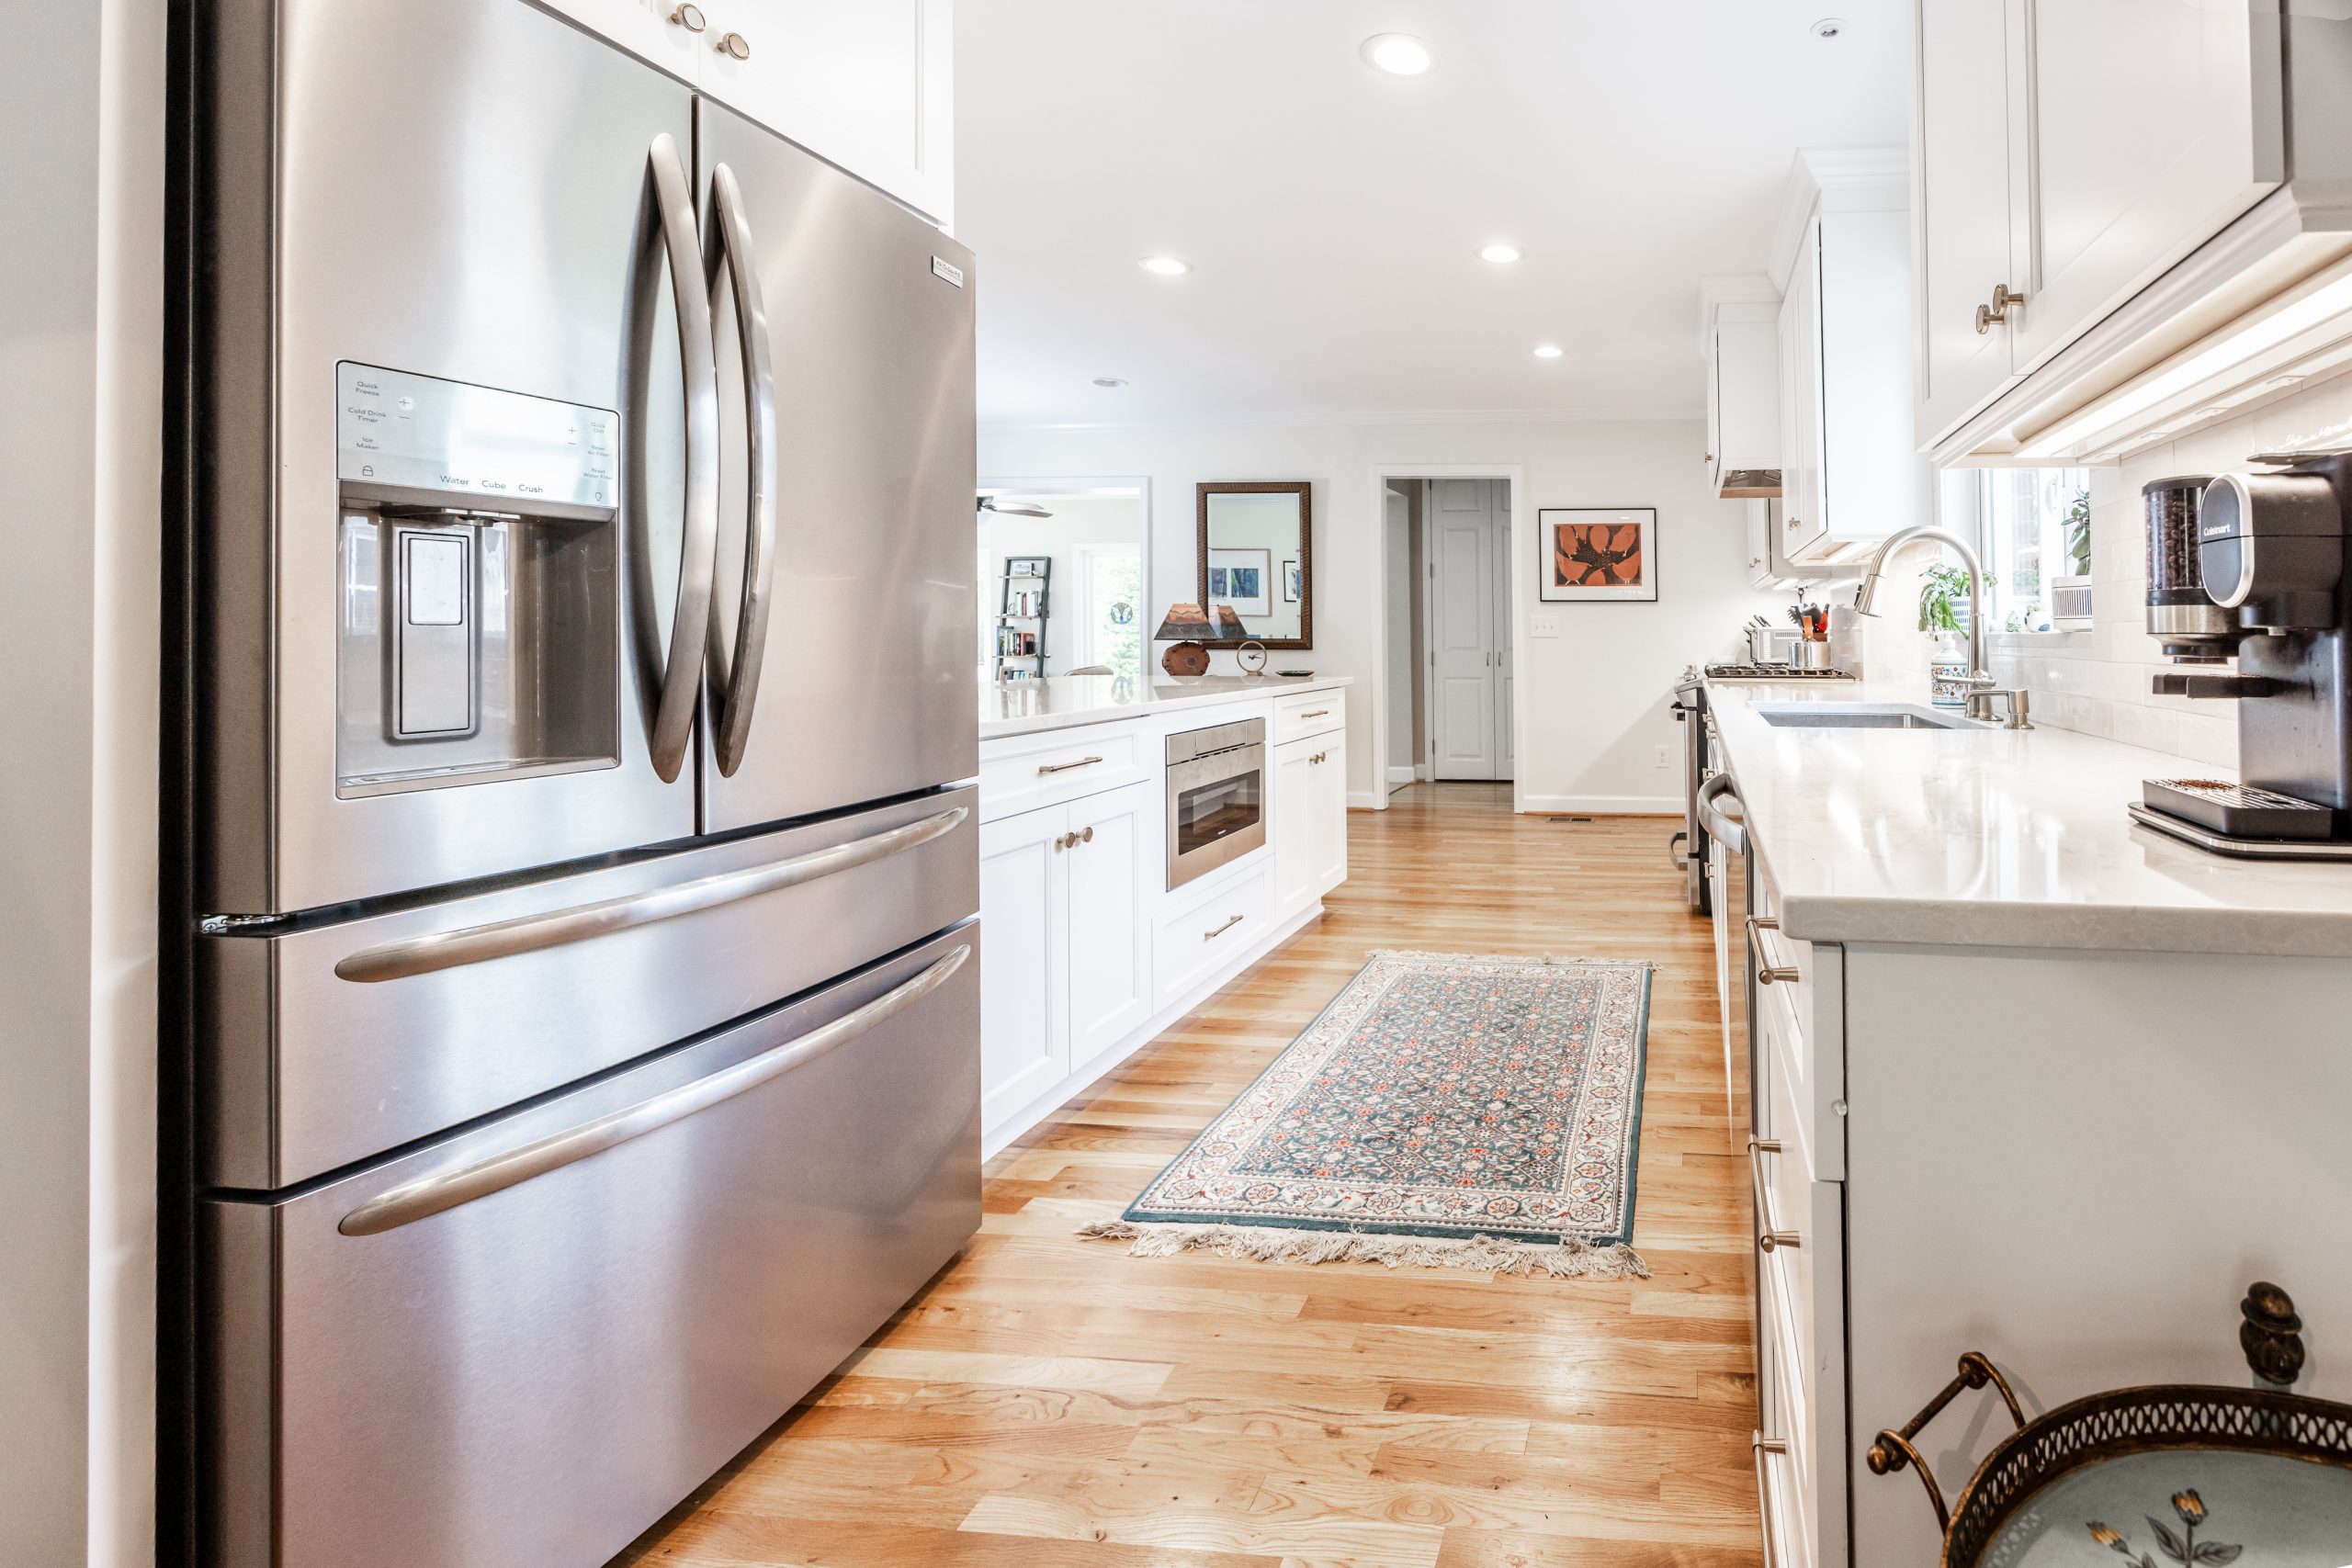
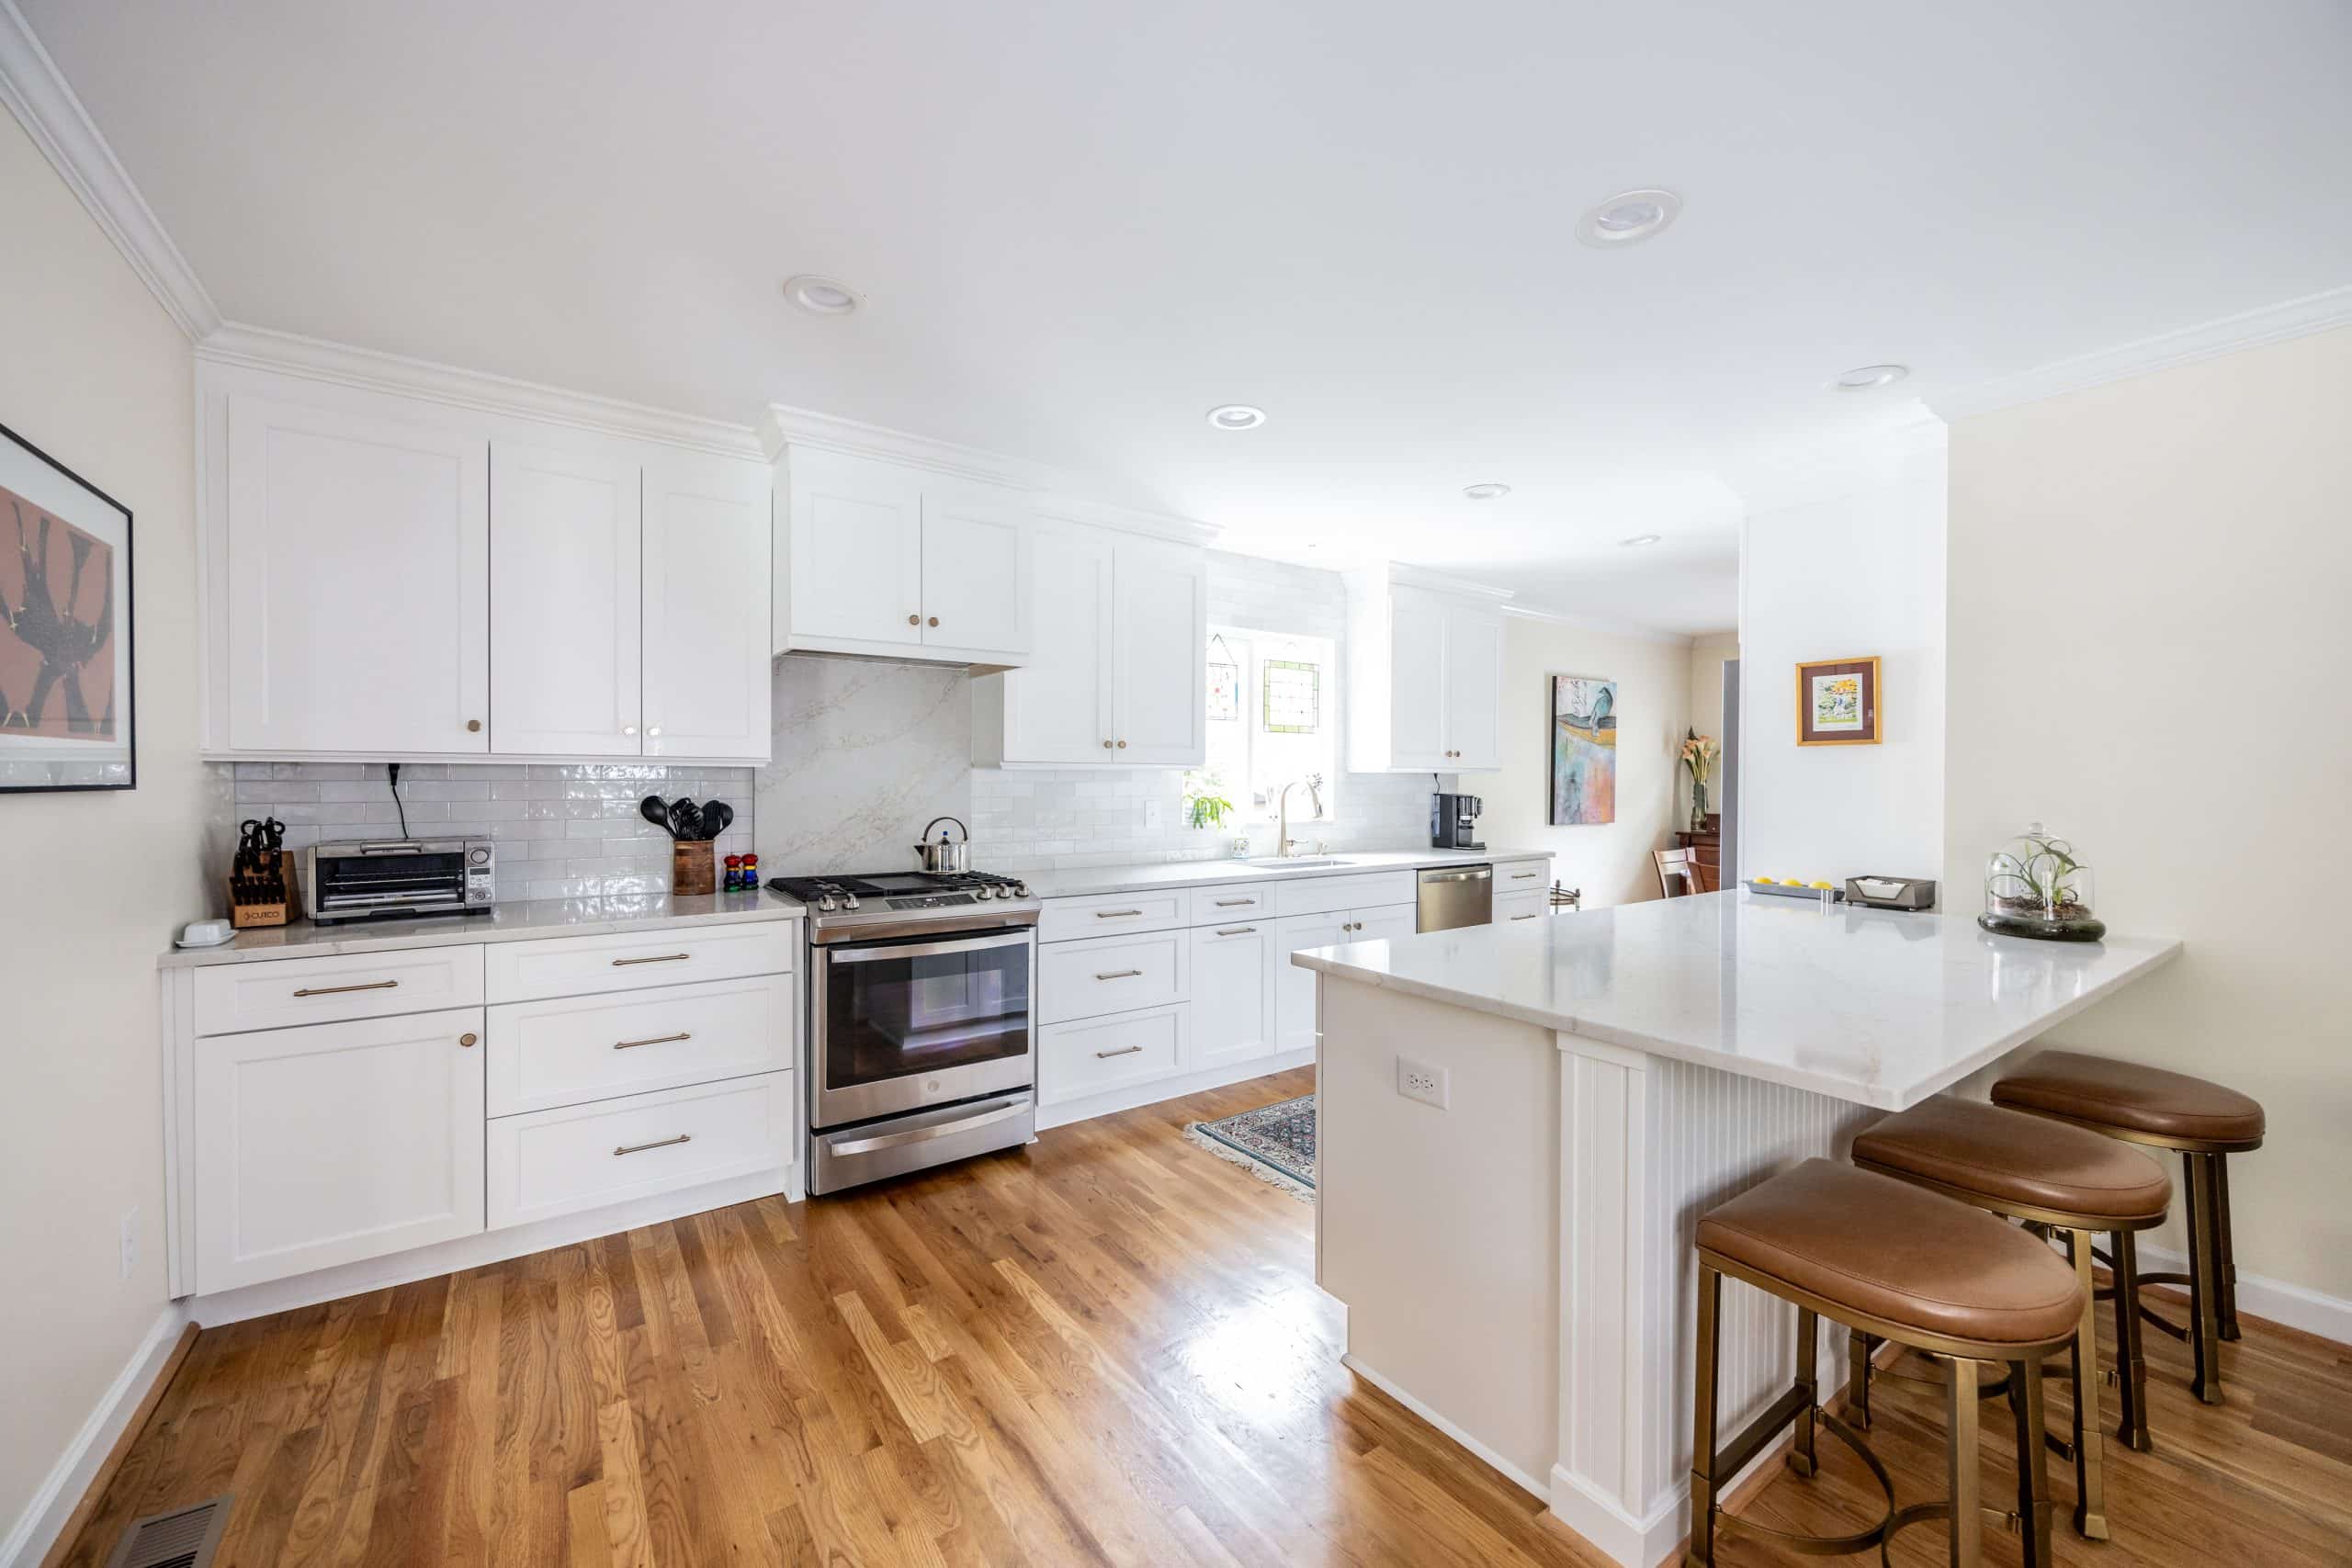
- Kitchen Layout: As we remodeled the kitchen, we moved the range to an outside wall and properly exhausted it. We bricked in the windows over the space where we moved the range to. We found brick that was a nearly identical match after 60 plus years, so the space looks seamless on the exterior. A new hood completes this area of the kitchen.
- Functional Updates: Removed the breakfast nook and adjoining bench and replaced them with much-needed cabinets and an extended peninsula countertop. Now, the homeowner’s grandchildren have a space to sit and watch her cook as they share their days.
- Aesthetic Enhancements: New tile, countertops and cabinets and improved lighting complete the space.
- Finishing touches: Installed a continuous and hidden electrical plug molding and under cabinet lighting, installed crown molding, and replaced aging interior doors and door hardware with new lever-style handles.
- Enhanced Cohesiveness: To help the remodeled areas better flow with the rest of the living areas, we repainted all the impacted spaces.
Bathroom Remodeling
- Goals and Challenges
-
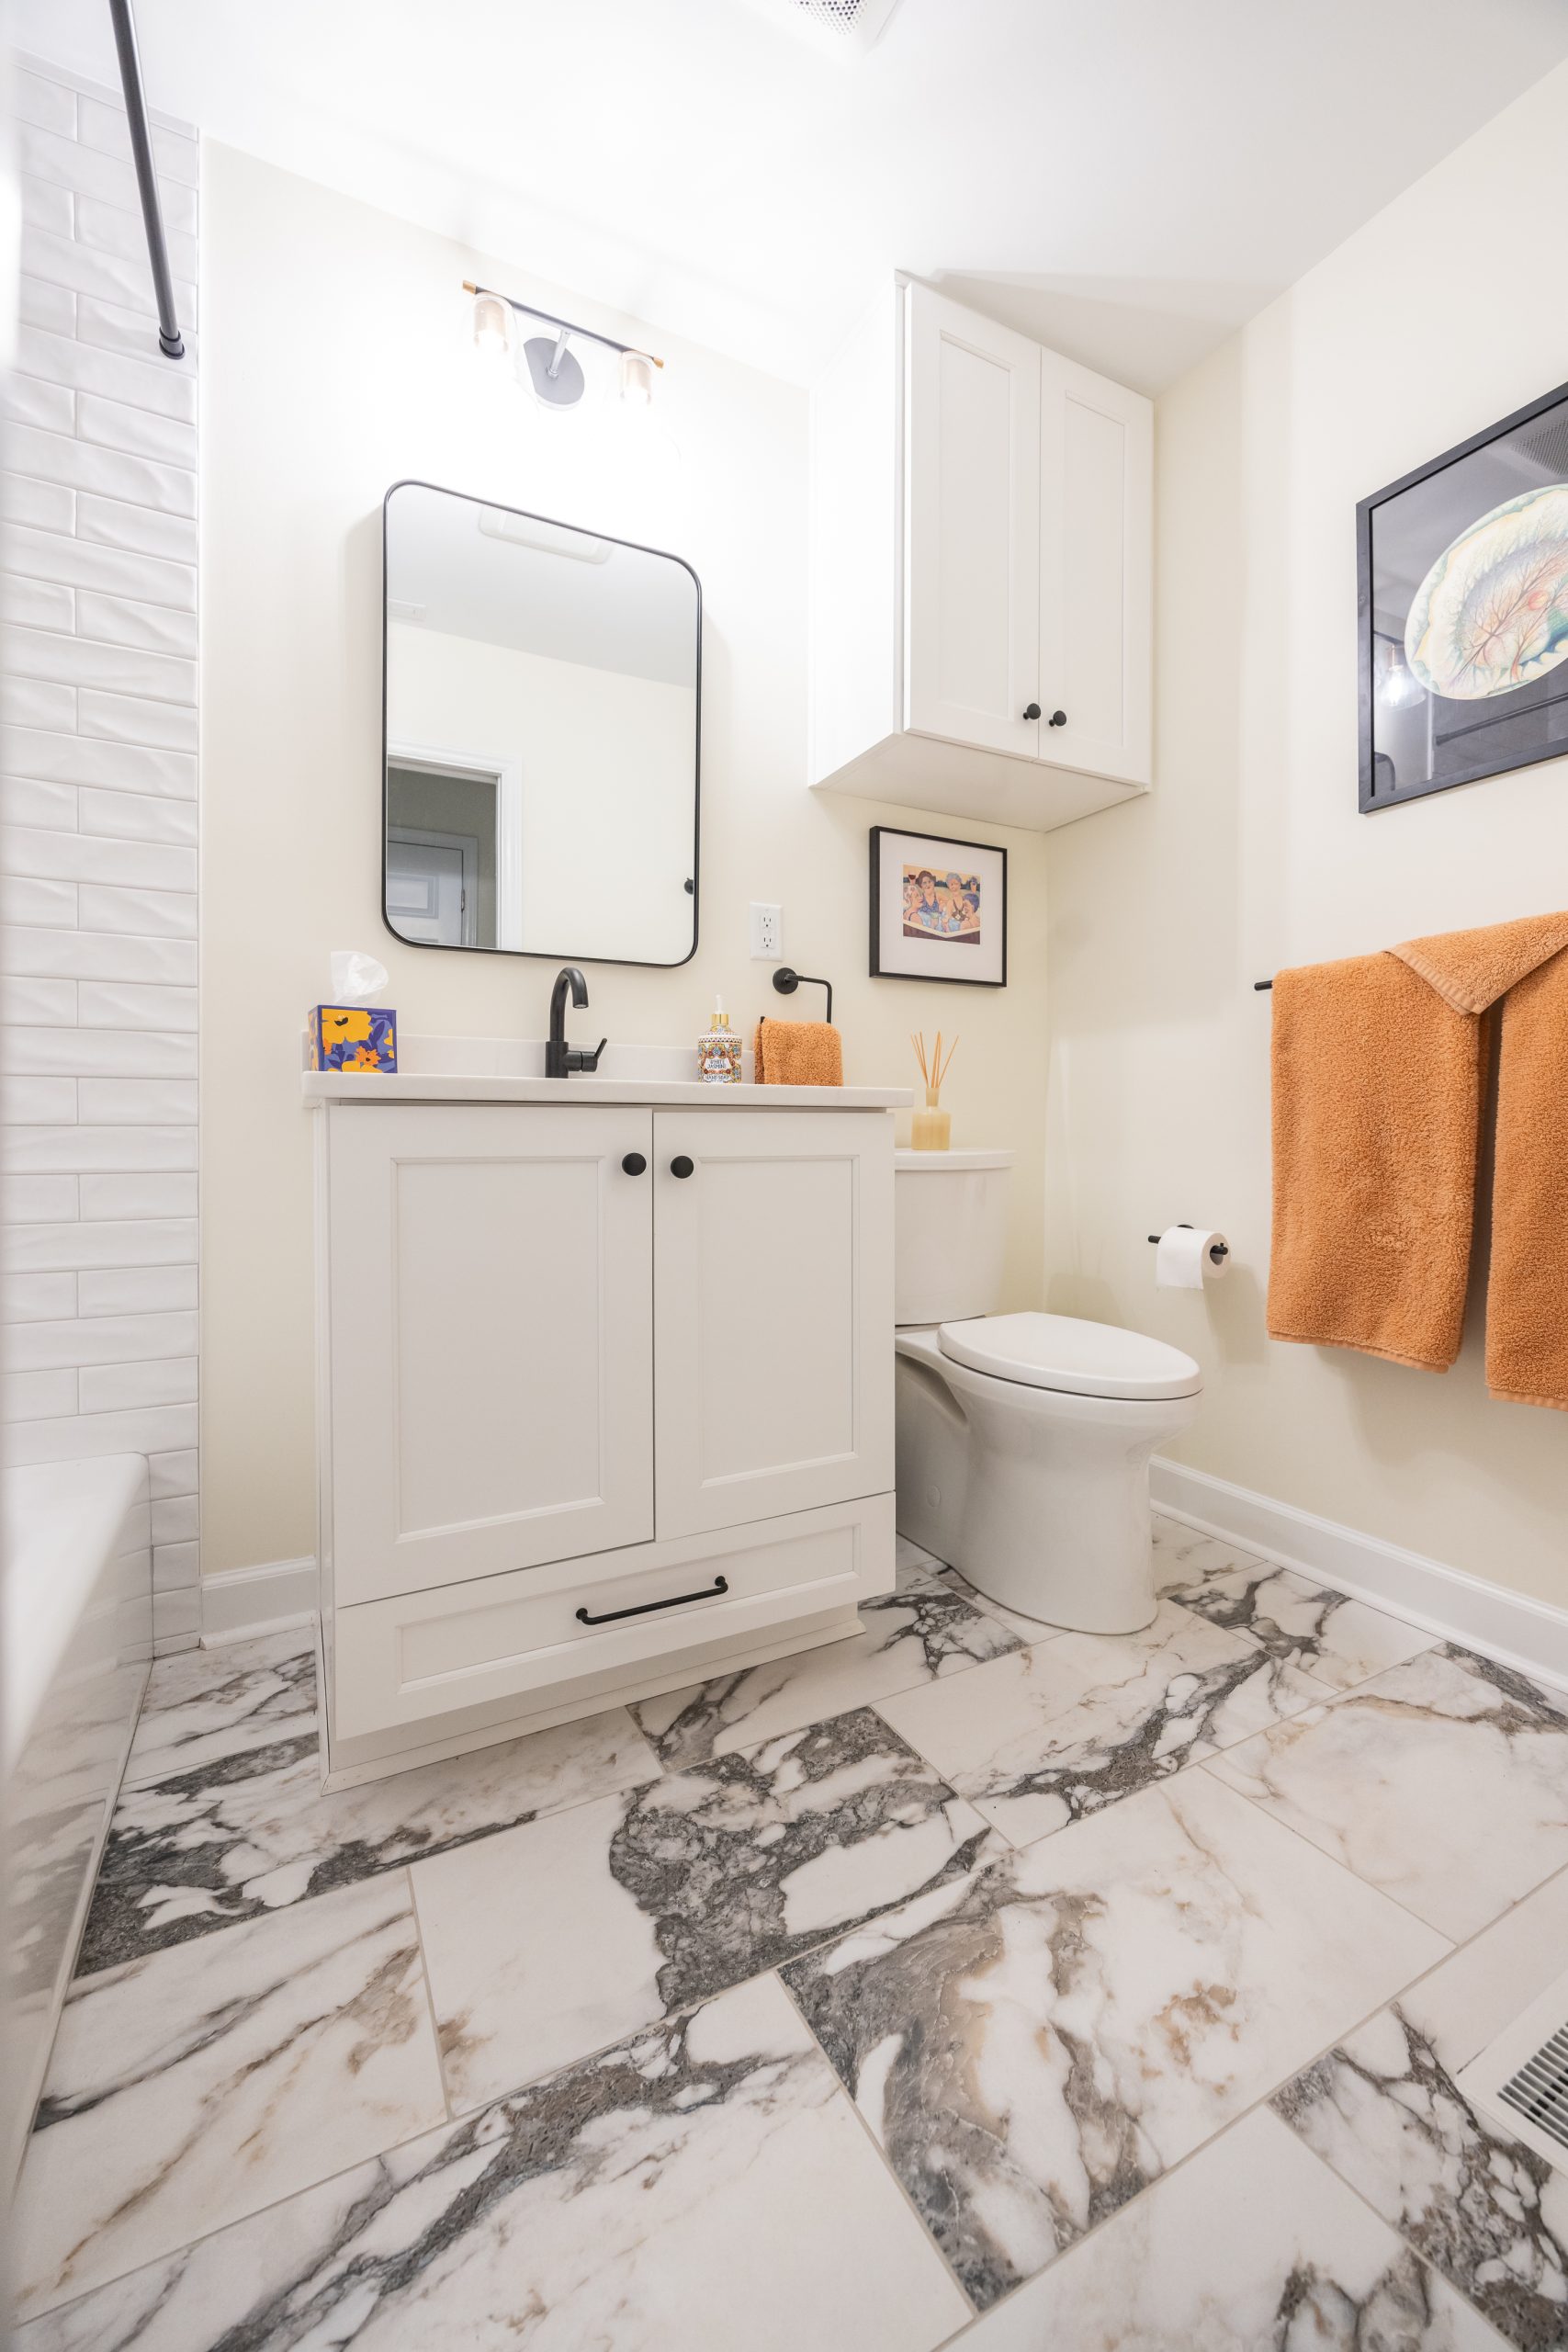
- The existing secondary bathroom needed some updates – both aesthetically and functionally, including:
- The floor was uneven and patched due to the unprofessional work of the previous home flipper.
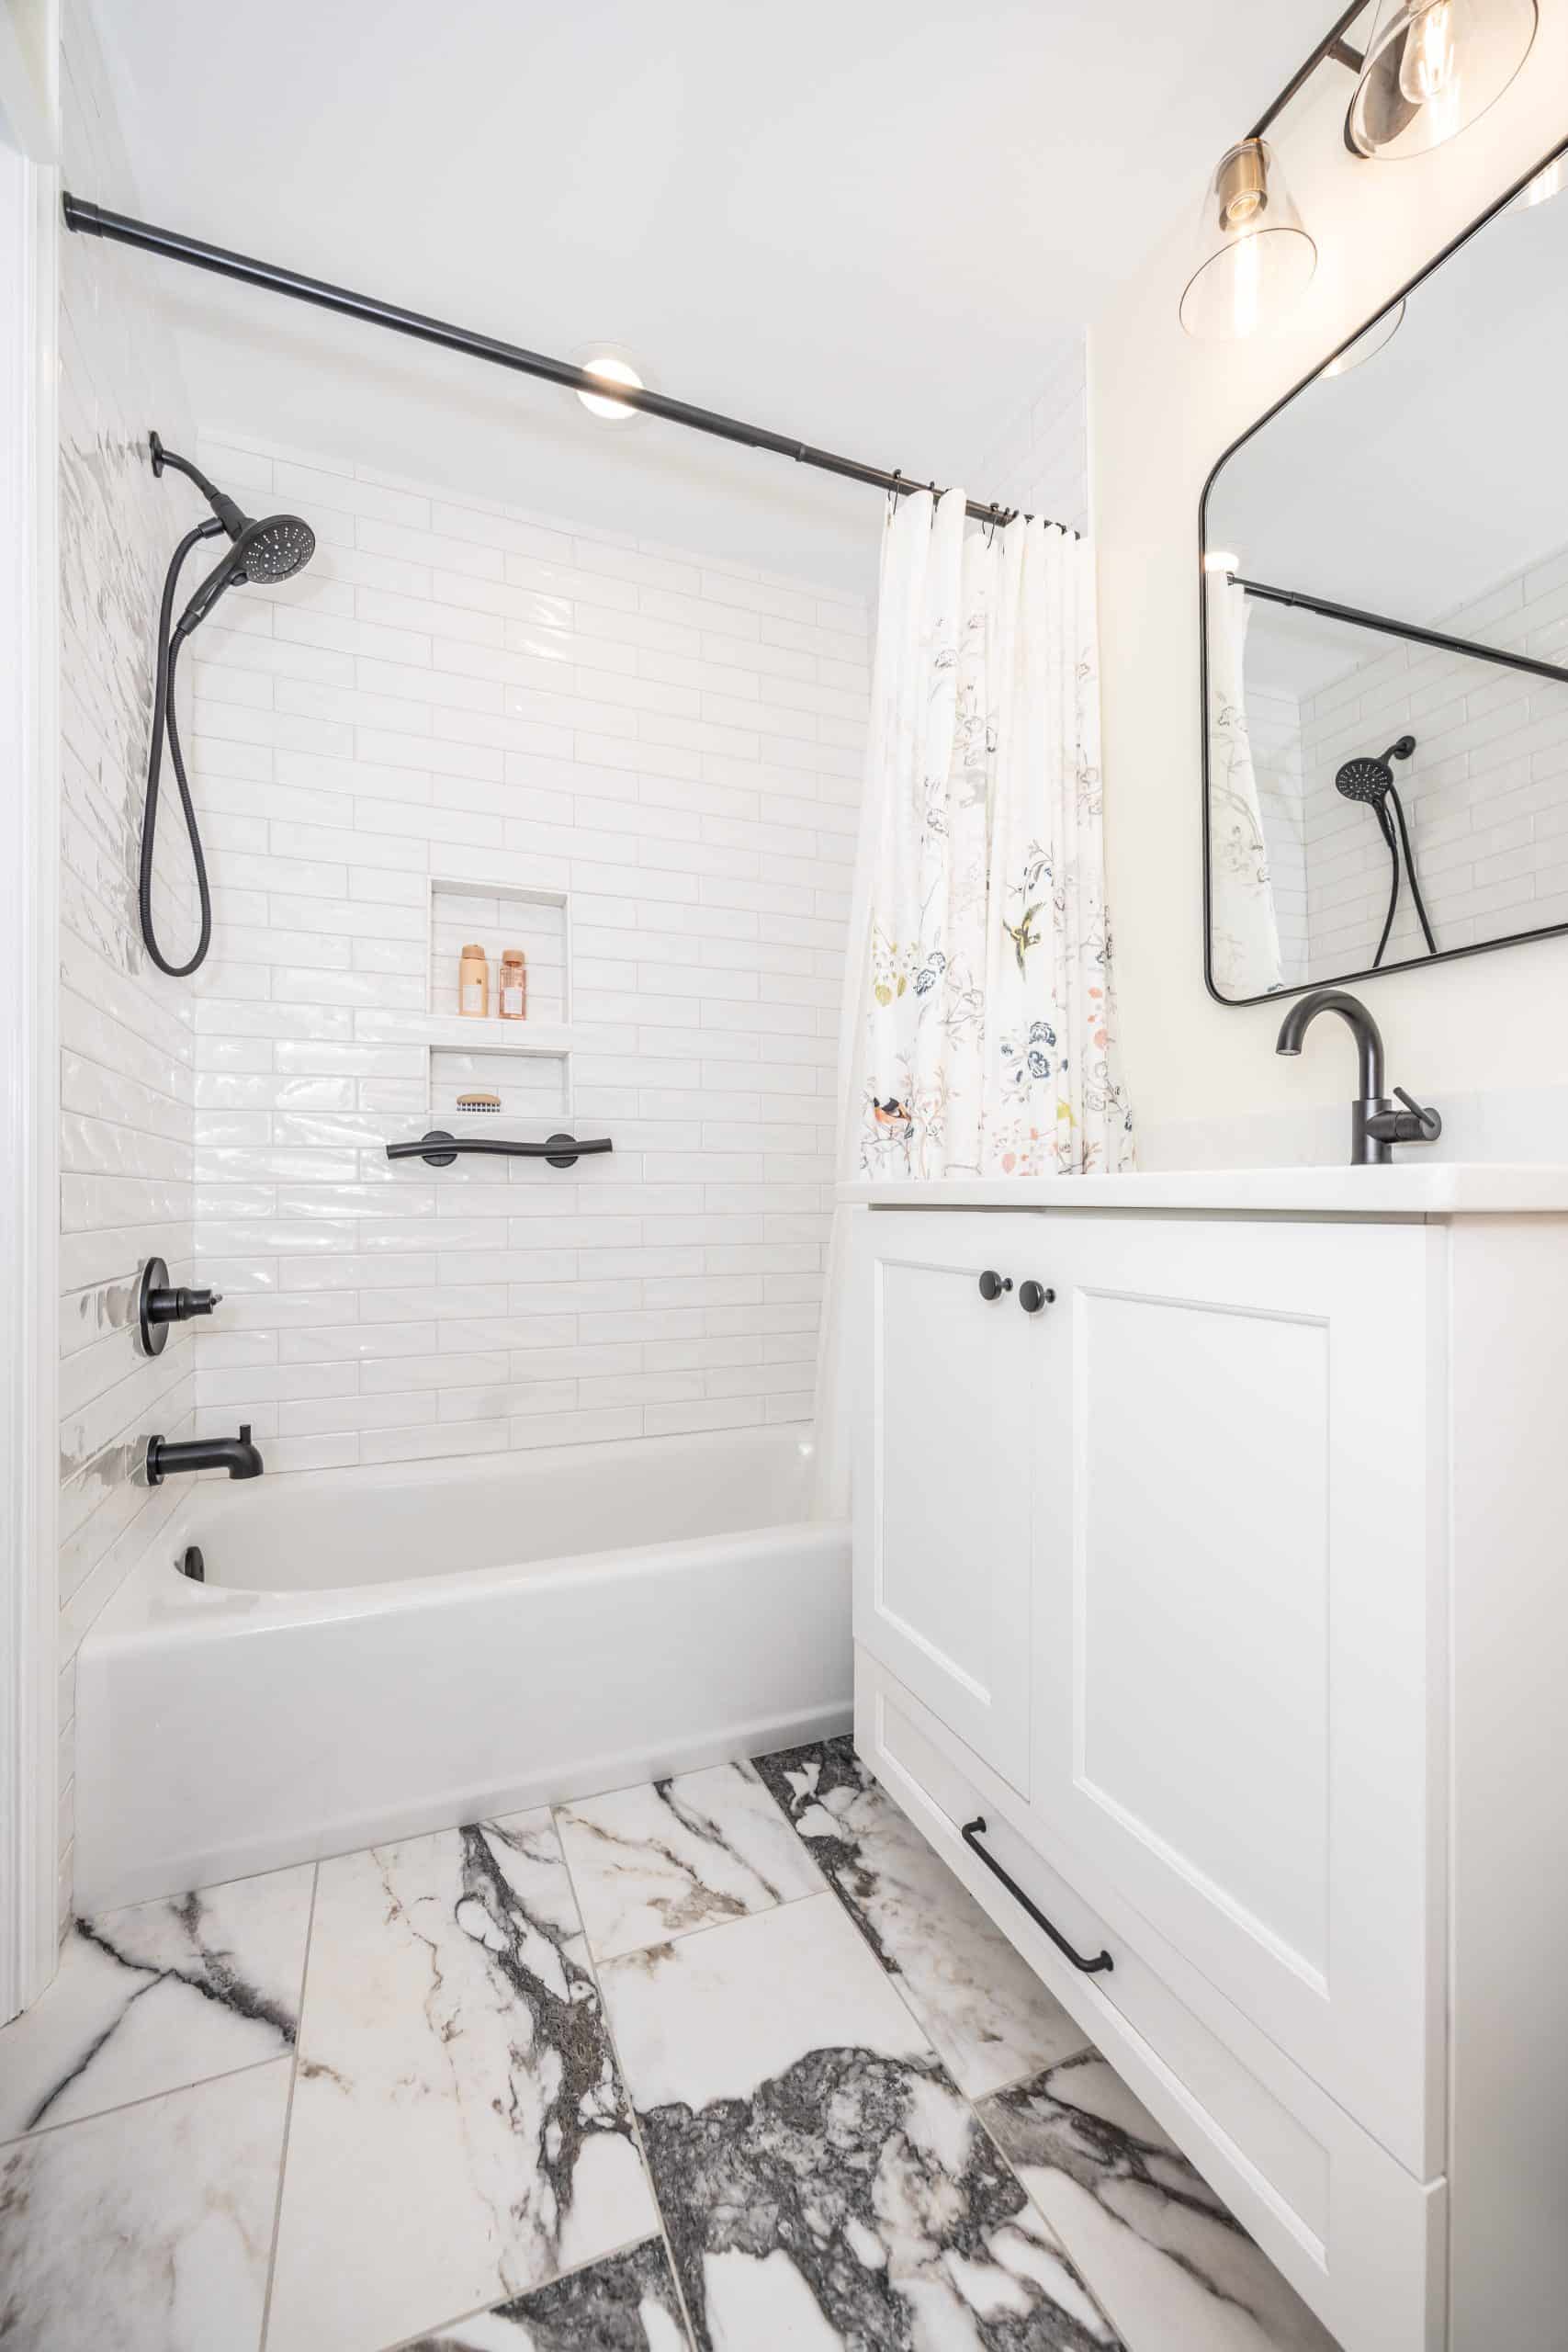
- The homeowner wanted to accommodate a granddaughter who had some physical challenges.
- The existing secondary bathroom needed some updates – both aesthetically and functionally, including:
- Solutions
-
- Floor Reconstruction: Demolished and then rebuilt the floor to give the room a stable base.
- Plumbing Updates: Installed new plumbing fixtures. We redesigned the space to give it a more logical flow with the sink in the middle of the room and moved the commode to the side.
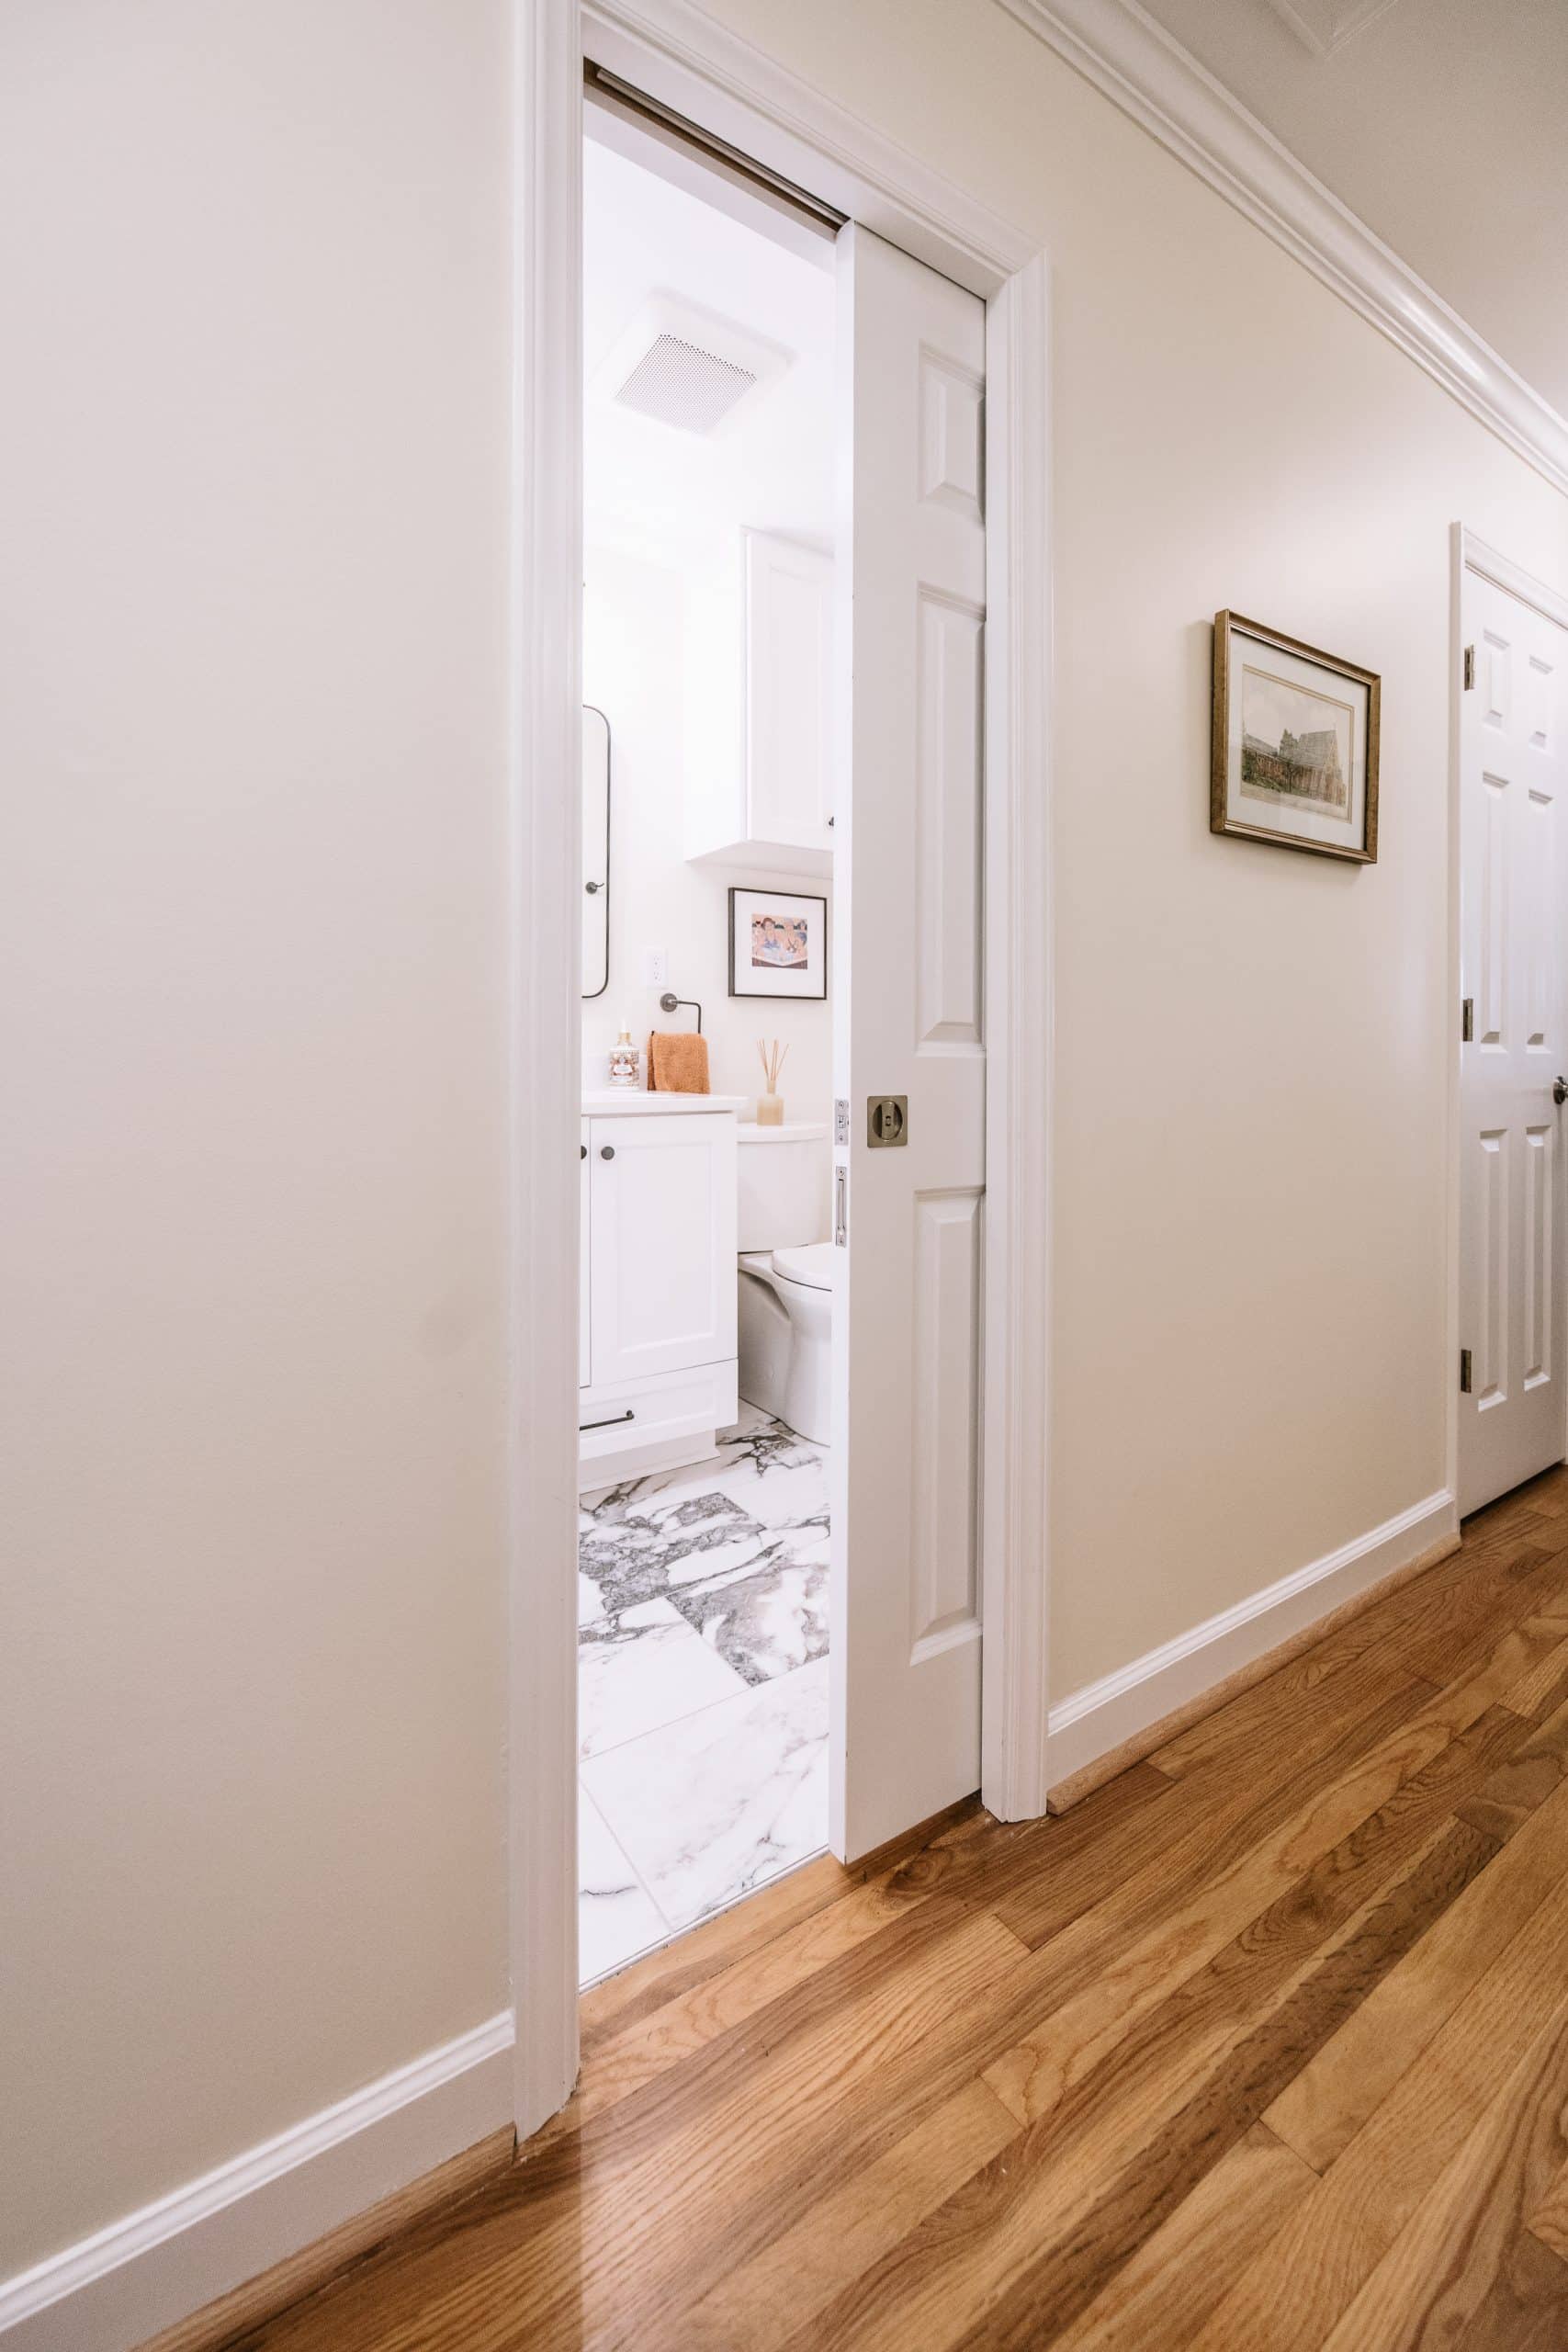
- Space Maximization: Installed a pocket door within the frame of the wall to maximize space and used an accessible lever handle designed for the homeowner’s granddaughter.
- Lighting Improvements: Instead of installing a traditional light switch, we opted for a motion sensor which makes it easier for her grandchildren to use.
Time frame: The kitchen, living area, and bathroom remodeling projects took nine weeks of actual working time to complete.