Waxhaw Exterior Home Renovation: Beauty & Durability
These homeowners purchased a residence that they thought would require only minor exterior renovation updates to get in shape. However, they rapidly discovered that their large home had many repairs and additions completed over time that were done for a price and not built to last. We stepped in to help these homeowners pull things together and to do this Waxhaw home renovation and repairs the right way.
Waxhaw Exterior Home Renovation: Addressing Hidden Repairs and Creating Lasting Solutions
Palmer’s Project Goals and Challenges
- These homeowners initially believed that they had only a water issue in their upper deck. A quick visual inspection – and some keen eyed masons – quickly revealed larger issues on many levels.
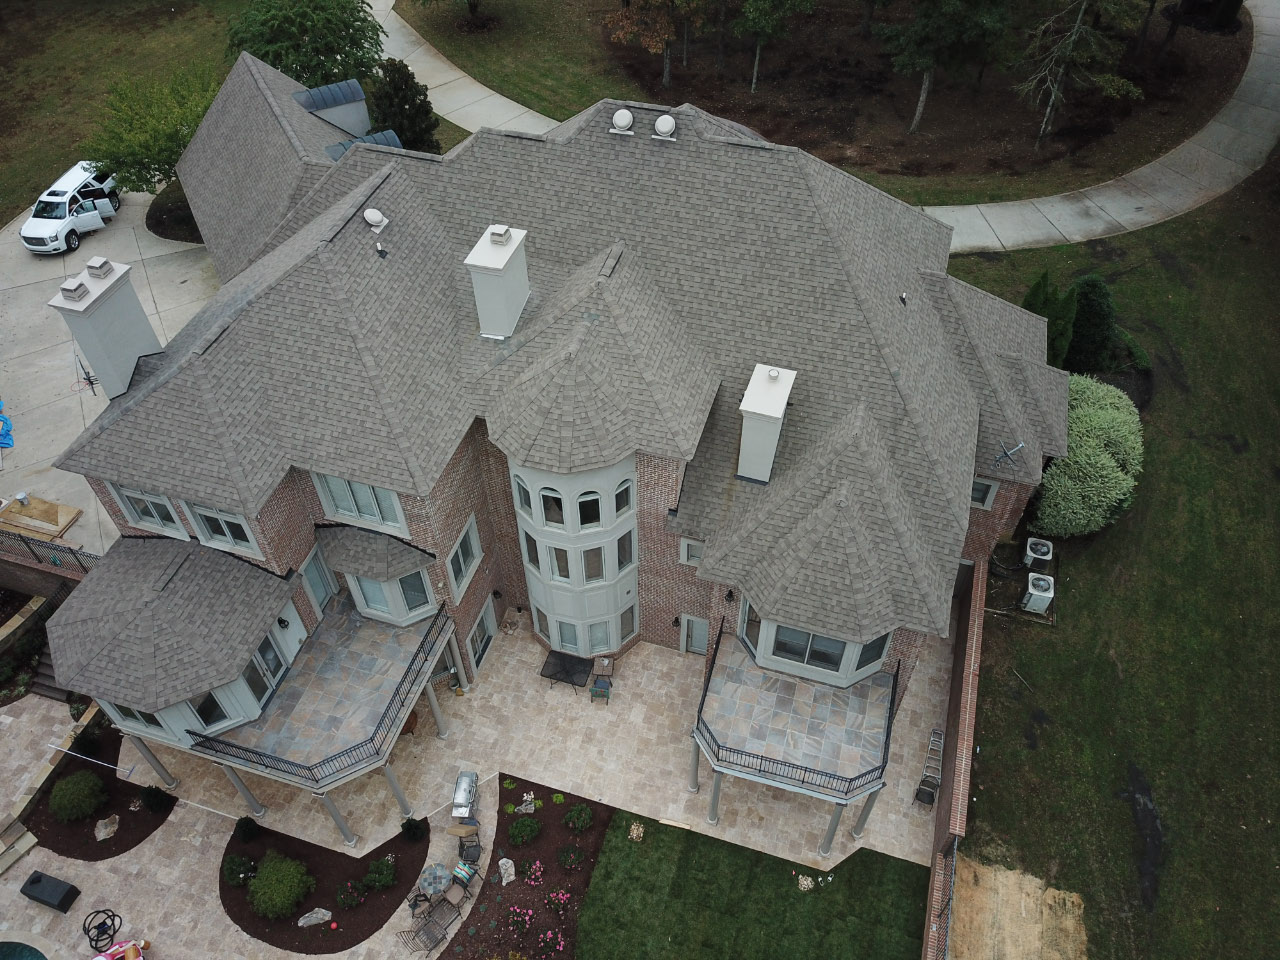
- Accessing the roof was a bit of an issue, due to the height of the roof and its steep pitch.
Solutions
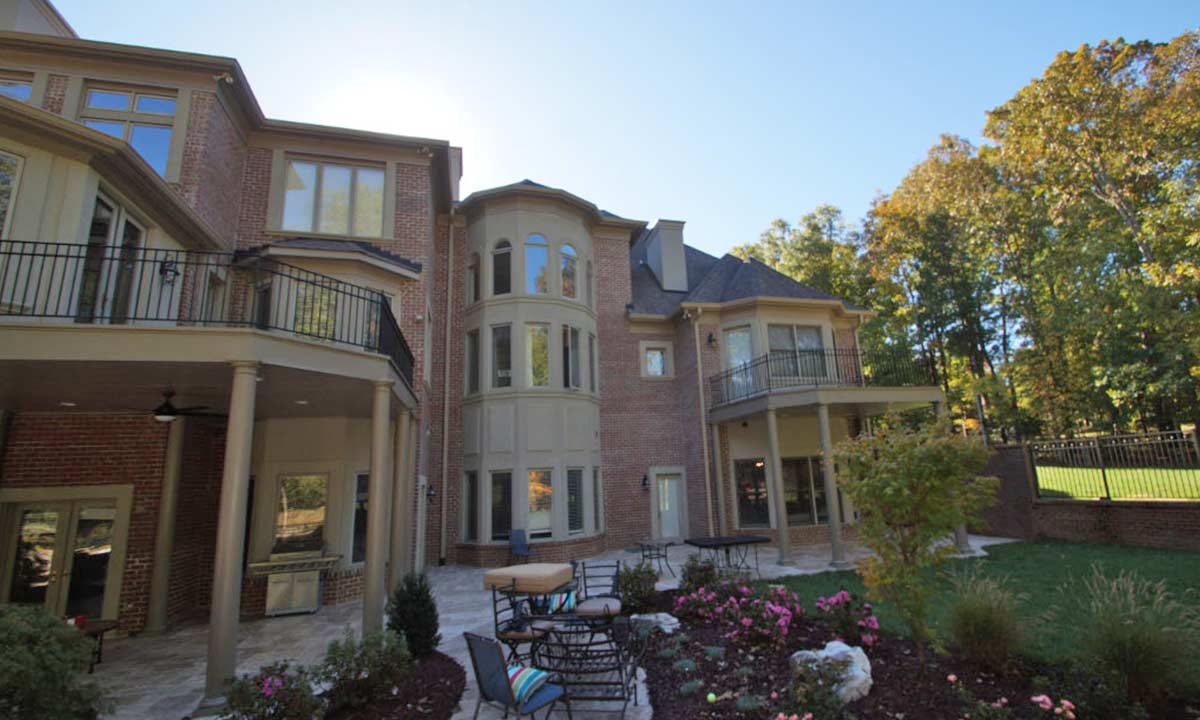
- We began this project by correcting the water leak in the upper deck. Previous owners had placed a floor drain in the middle of a brick paver patio, but unfortunately, the pitch was wrong, the drain was clogged and not completely waterproofed, which was allowing water to seep in and damage the structure. We removed the existing deck completely, reframed the deck, doubling up the floor joists for strength, repitched it correctly, and installed a new waterproofing membrane. Above that, we installed beautiful new 20” x 20” tiles.
- Another exterior deck was made of wood and had the same issues, so we followed the same repair regime. What made this deck unique was that it had custom wrought iron railings fit to the shape of deck that would have been costly to cut out and replace. Instead, we used manual labor – about half a dozen men with ropes successfully lowered the u-shaped railings to the ground in one piece. We then painted them and carefully reversed the process to put them back in place on the new decks.
- Things got more complicated as folks were working on the pool. One of the tile masons noticed that a brick chimney was leaning in toward the house. This wood framed chase with a brick veneer was leaning by over a foot and was in danger of falling right through the roof.
- Since it was difficult to determine the issues from the ground, we sent a drone up to take a closer look. We then discovered that there was a continual water leak due to improperly installed brick without adequate support for its weight. We stripped the chimney to the gutter line of the second floor, reframed it, and matched its veneer to the stucco on two other chimneys, which served the dual purpose of being a lighter material and a more adaptable material (since matching brick was no longer available.) We then resurfaced the other two chimneys so all three matched.
- Stucco aprons on those chimneys were a poor design – we replaced them with a better trim design so that the cap pan that prevents water from getting in the chase could be mounted more securely. (Issues with this had compounded the problem of the water leak. Previous workers initially had nailed the aprons in place from the top, allowing water to drip into the prefabricated fireplaces. Discovering this issue is where the drone really shined – the roof was 50’ up and had a steep 12 pitch, so it was much safer to send up a drone to do the initial diagnosis then to send a person.
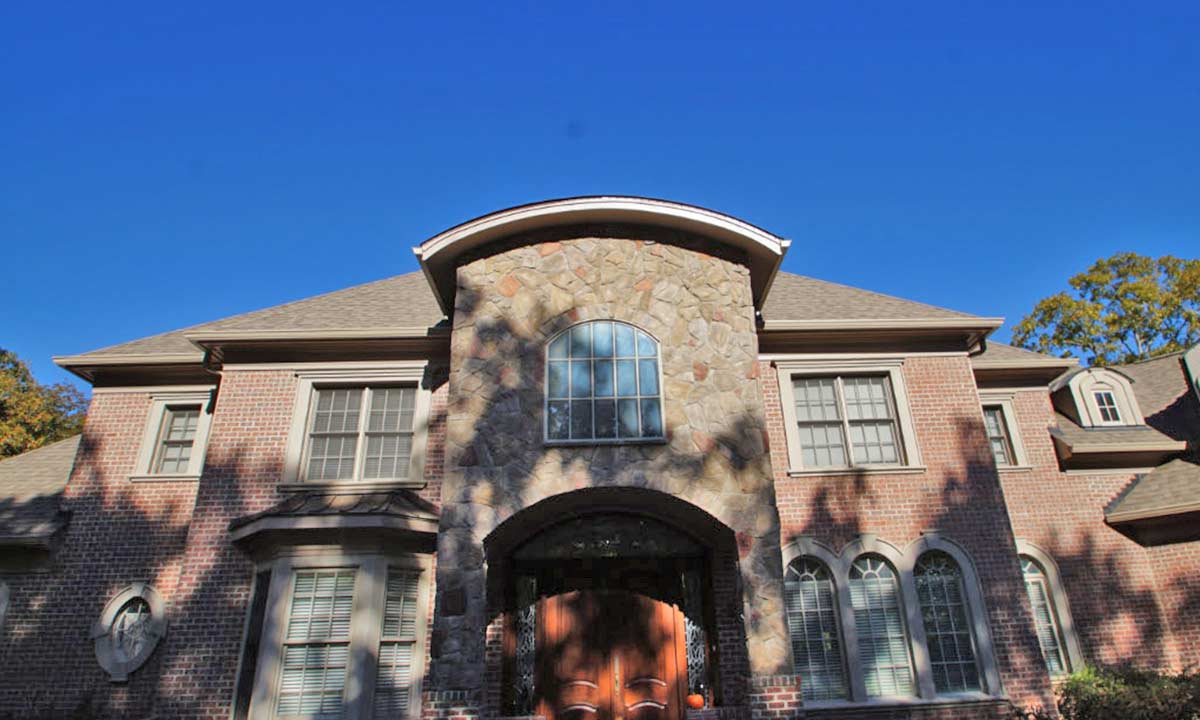
- The home also featured a large metal barrel roof. Unfortunately, it was improperly installed with the wrong materials, which had allowed the wood to rot on both sides of the barrel. We removed the rotted materials and replaced with regular metal in a bronze finish to match the roofs of the other dormers.
- We then replaced leaking gutters all over the house as well as the fascia boards that had rotted behind those gutters.
- We then pressure-washed the house and painted everything on the exterior.
- We rebuilt the back staircase so that it was encased in composite materials to provide enduring beauty and safety.
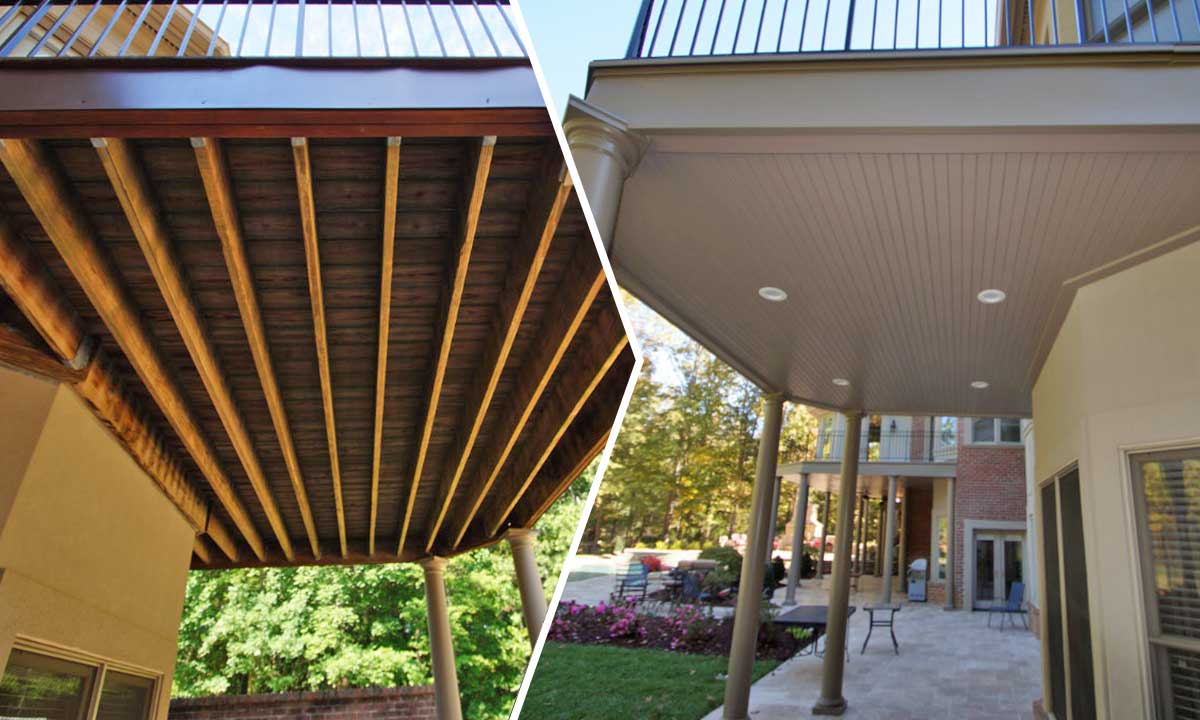
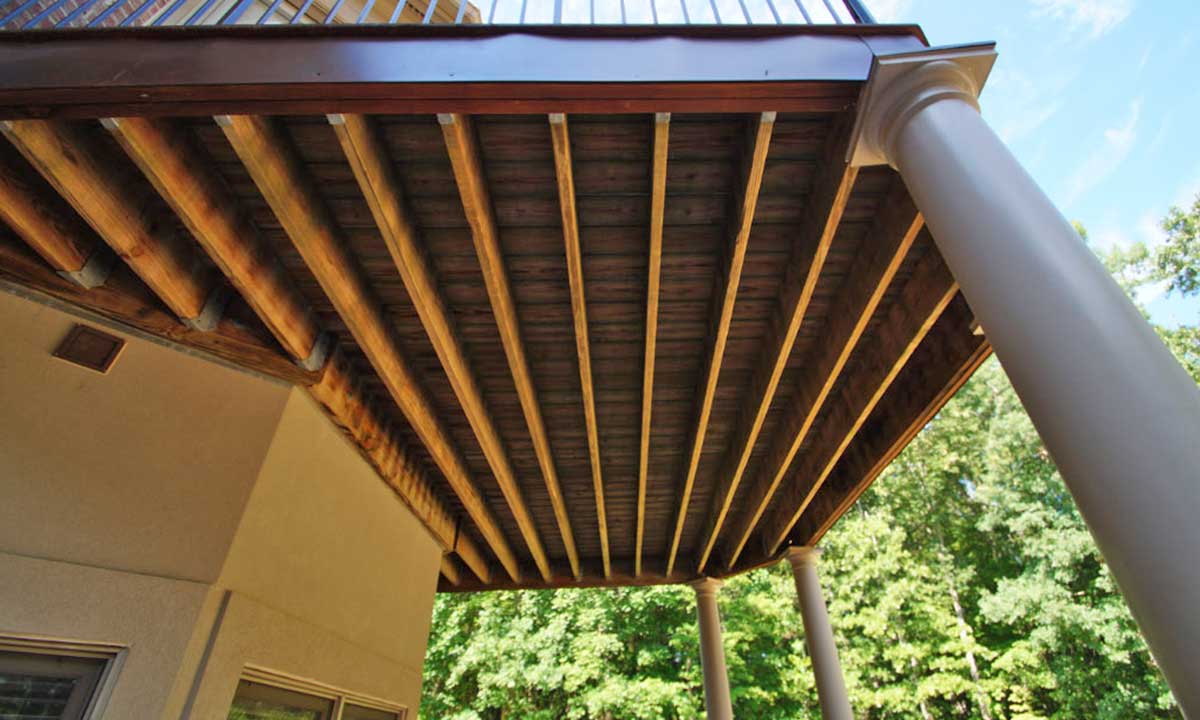
- Finally, we installed ceiling fans underneath the upper decks and put recessed lights in the bead board ceilings to create an outdoor living area that the homeowners could enjoy in the evenings.
- In all, the project took just 7 weeks of actual working time to complete, and we finished on time, despite the addition of some painting, and pressure washing that was added to the project at a later date.