Master bathroom remodel – Updating for style and function
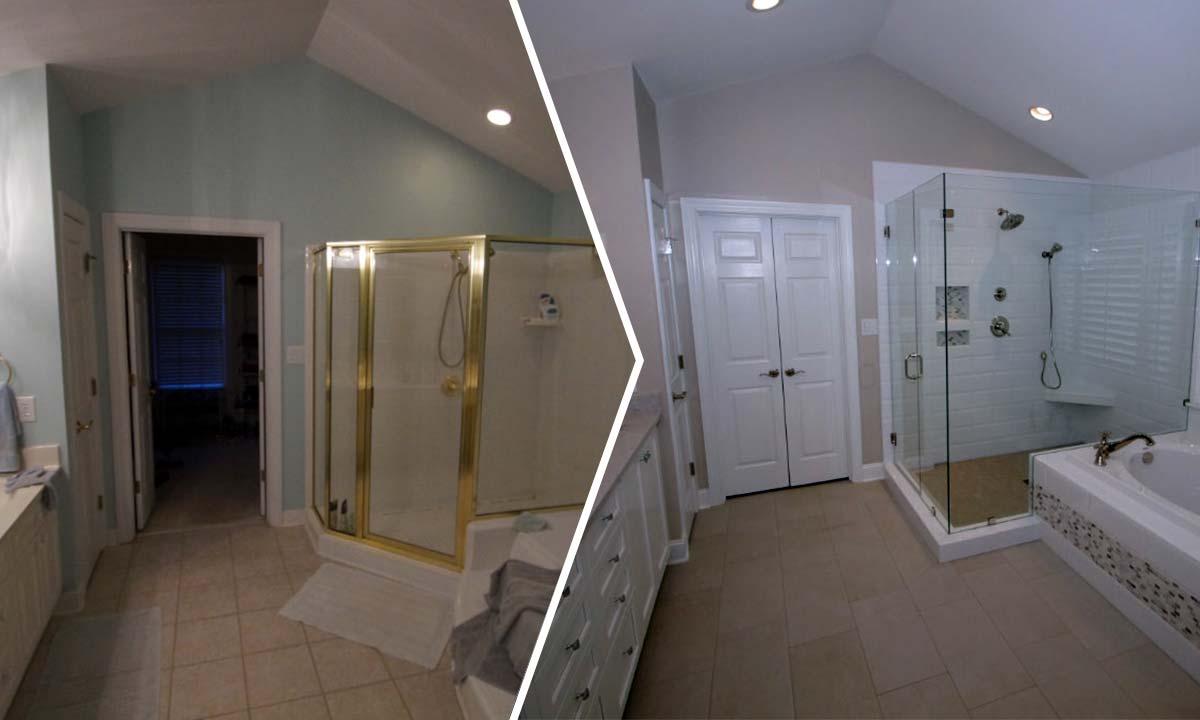
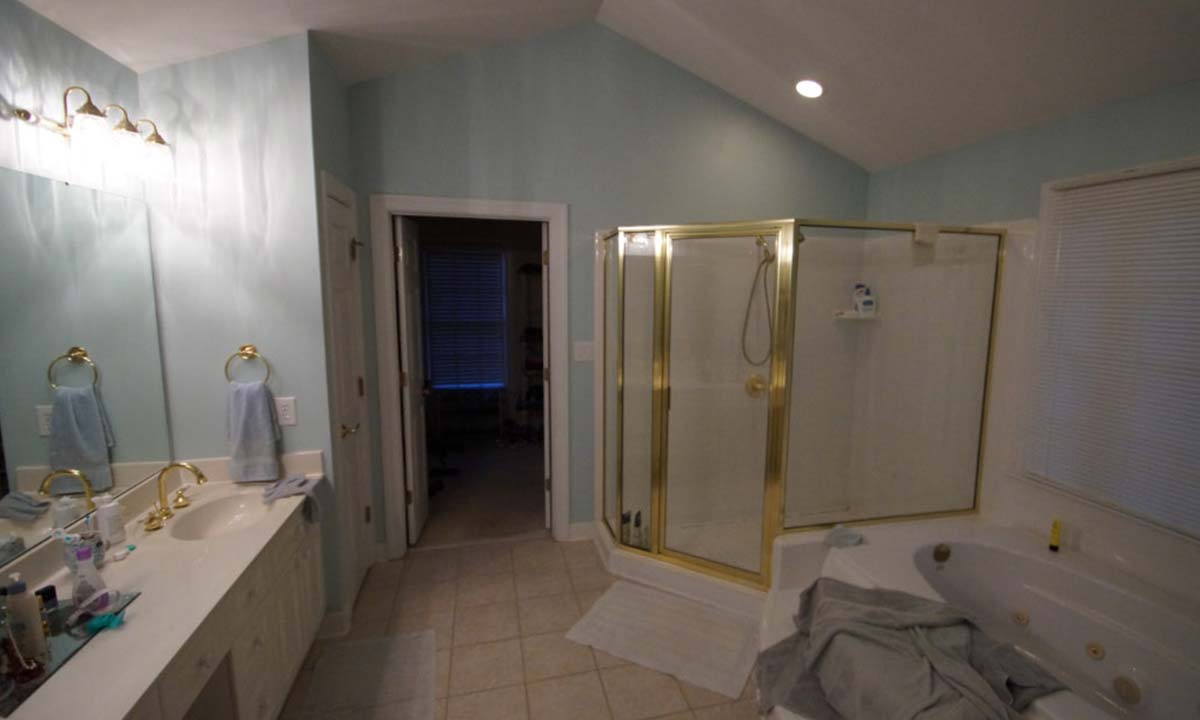
This family had a graciously sized but outdated master bathroom complete with the shiny gold fixtures typical of 80s construction. We wanted to update the space and make it more practical at the same time.
Palmer’s Project Goals and Challenges
- As often happens in projects, spouses sometimes have differing opinions on how much needs to be done. In this master bath, one spouse wanted to redo the entire room, while the other originally wanted to minimize changes, such as retaining an existing jetted bathtub and only replacing the shower.
- The graciously sized space had a beautiful vaulted ceiling and nice structure, so we wanted to maintain and highlight its open feel.
- We wanted to replace moldy and broken tiles that were unsightly and could become a health issue, as well as being a potential source of a water leak that eventually would damage the structure.
- The old elevated jetted tub was accessed via two rounded steps leading to the tub platform that were unnecessary and took quite a bit of floor space.
Solutions
- We began by assessing the room’s existing components. We realized that the jetted tub eventually would need to be replaced. If the homeowners opted to do so at a later date, they would have to tear up the new tile that we were installing. That realization convinced them that it would be more cost effective – and they would enjoy the space more – if we did all the upgrades at once.
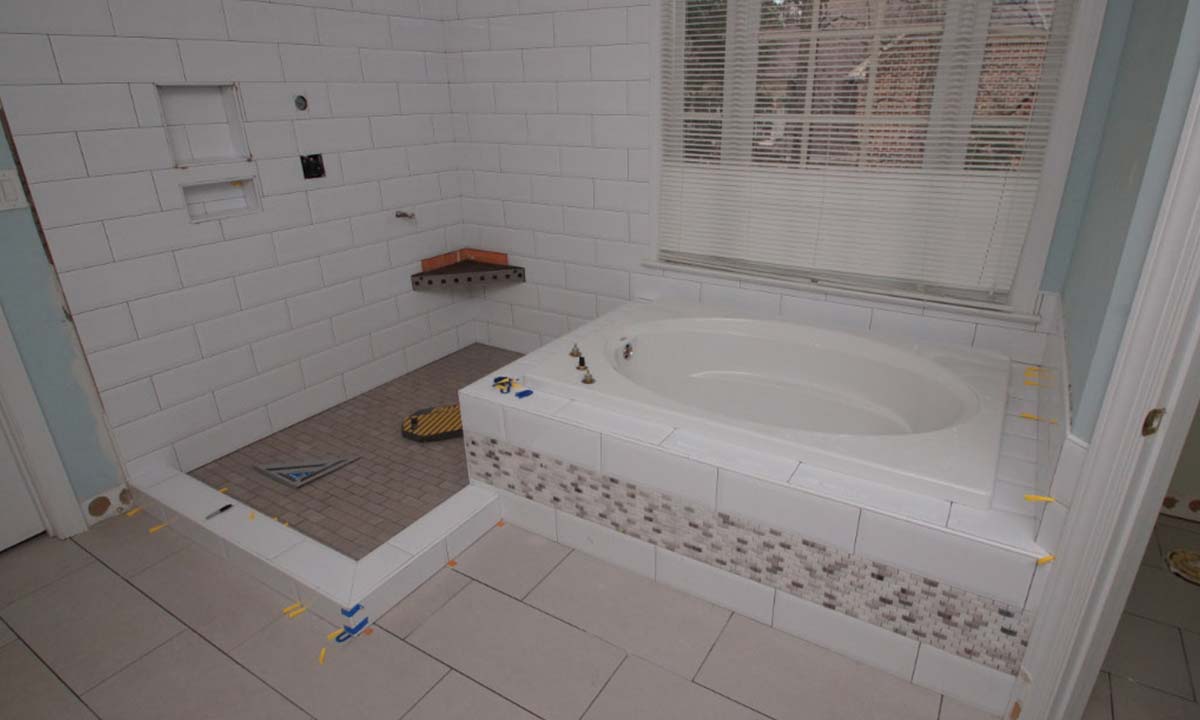
- We removed the rounded tub steps and moved the tub deck away from the rear window wall; that increased the size of the deck while allowing for better tub placement that not only looked better, it also increased overall floor space.
- A new soaking tub is more up-to-date and efficient than the old jetted version. Mosaic accent tiles were chosen that highlight the tub apron and are repeated in the shower niche to visually unite the space.
- We replaced the broken and moldy shower wall and floor tiles with new rectangular tiles in a more contemporary style. We increased the overall shower footprint, and increased the height of the tiled shower wall, which looks better and eases cleanup.
- The existing shower had a 45-degree angle that cut into the shower space. We squared off the new shower and opted for a frameless glass surround, effectively increasing the shower space with minimal reduction in floor space. A built-in seat and the addition of a handheld shower along with the fixed showerhead have transformed the space into a true spa shower.
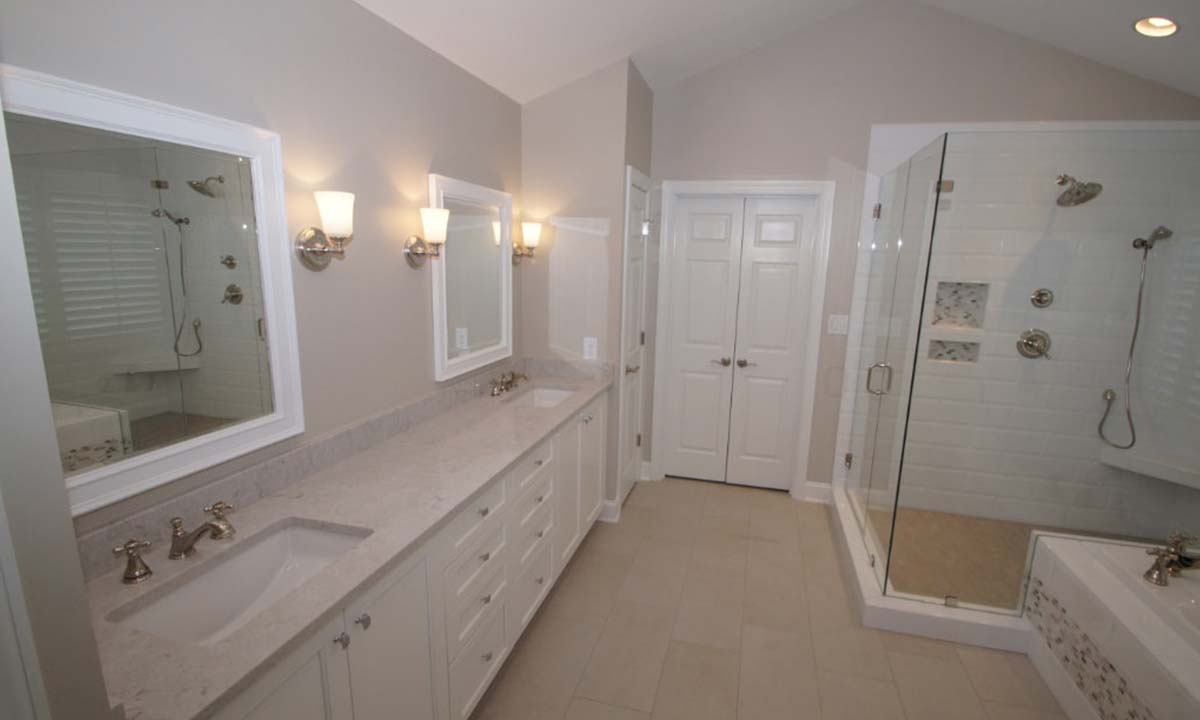
- We replaced the dated floor tile with updated 12″ x 18″ tile in a running bond pattern.
- In place of two oval sinks and a sit down vanity area, we added a new double vanity with dual under-mount rectangular sinks and a double column of stacked drawers that maximized counter area while providing additional personal storage space. Taller base cabinets were chosen for ease of use.
- In the water closet, we installed a NuTone Premier Lunuara LED nightlight/fan above the commode, providing gentle yet safe light in the middle of the night.
- Lighting and plumbing fixtures were updated with a more modern brushed finish.
- The Owner chose a custom shutter for the tub window and two vanity mirrors, which added a nice finishing touch to the spa-like space.
- The project actually took one week longer than anticipated because we had to wait a week for backordered tile trim. All in all, this bathroom remodel took just nine weeks to complete and made a vast improvement in the appearance and functionality of the space.